EN
EN

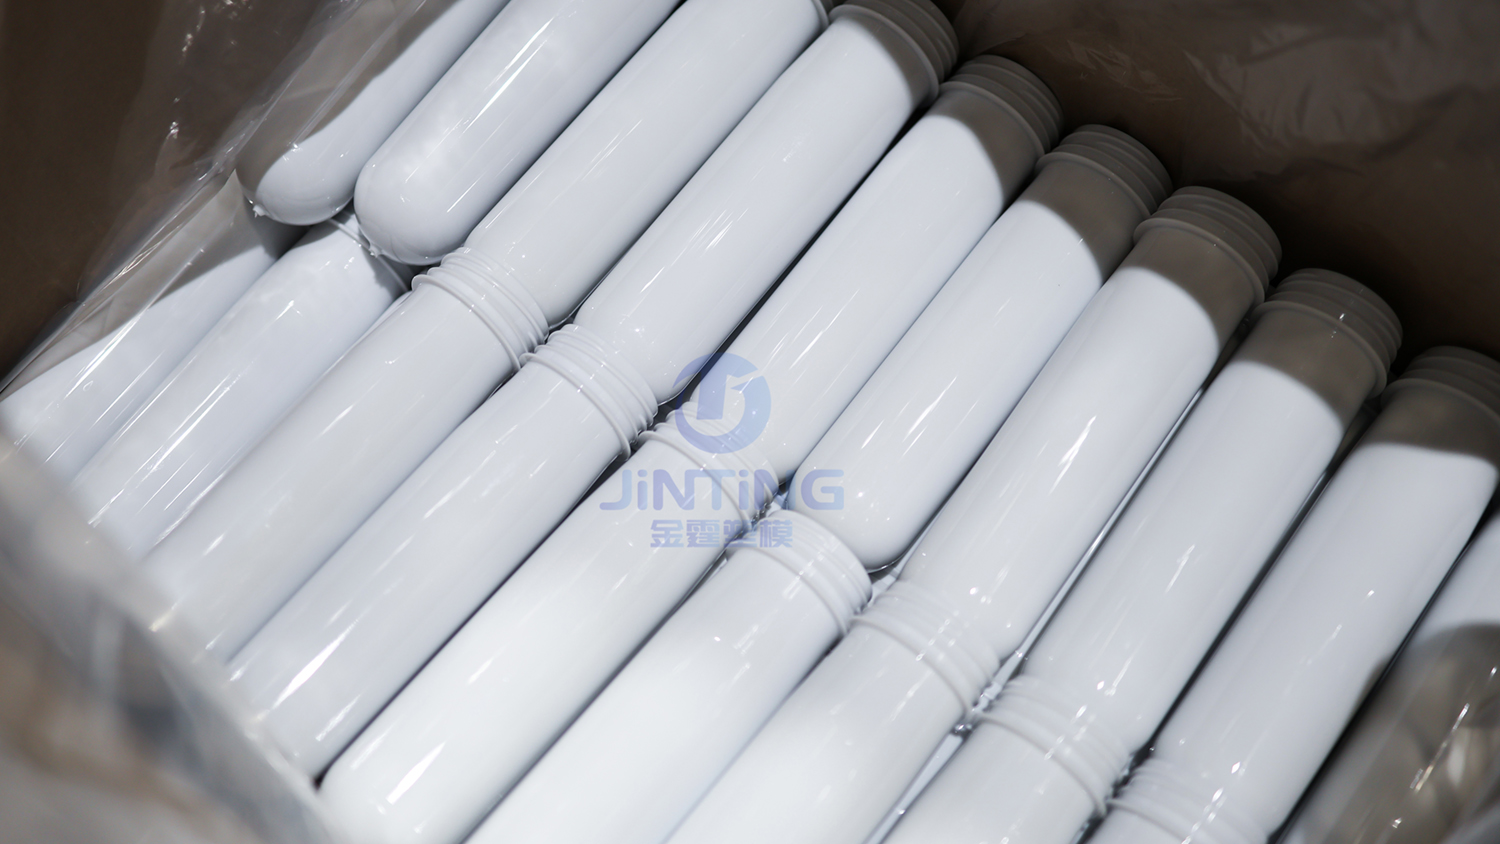
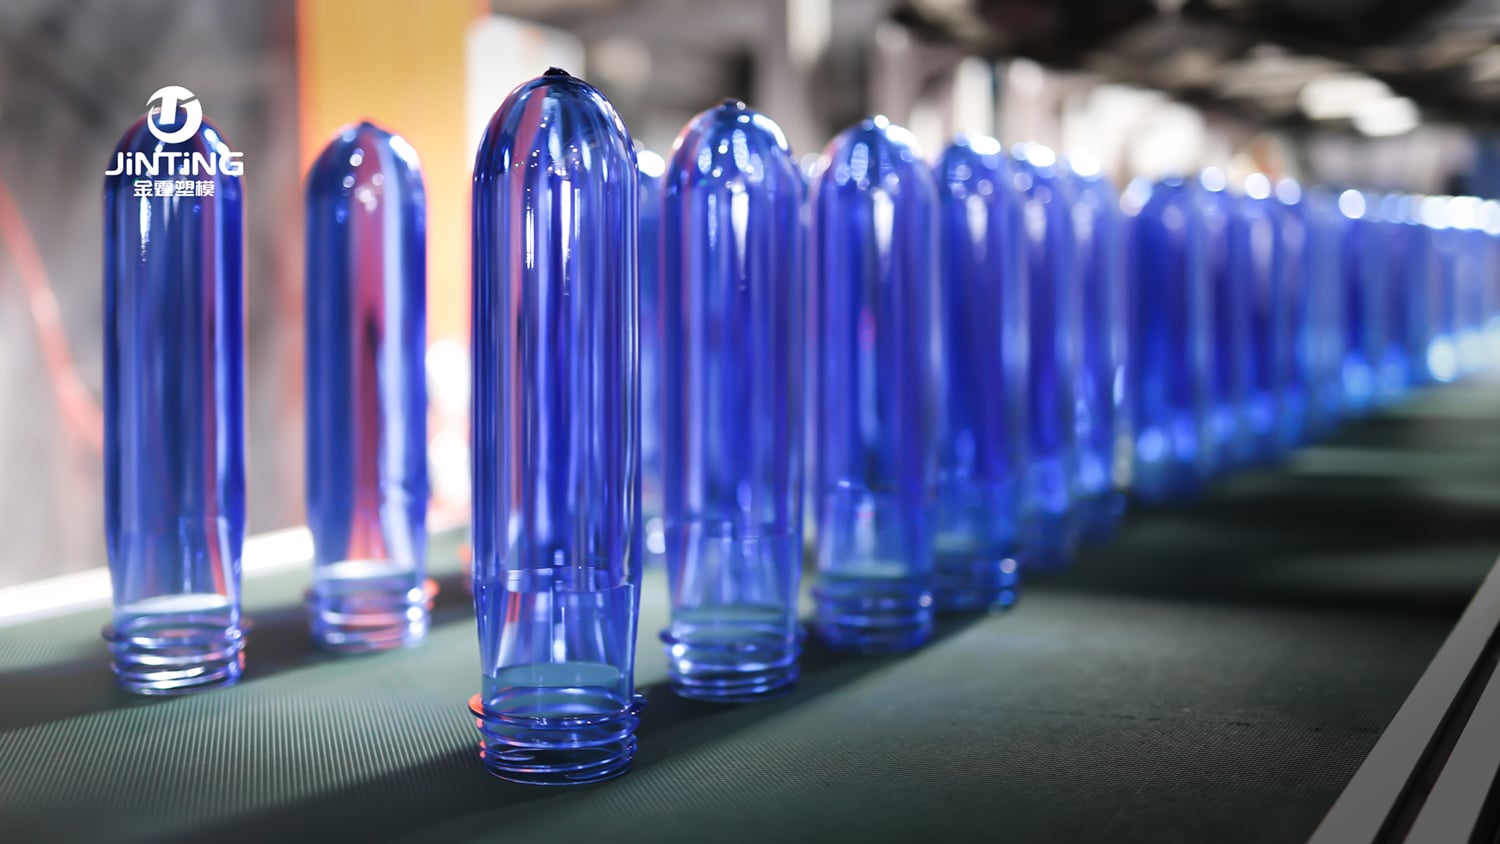
The same preform – one person blows crystal-clear bottles with uniform wall thickness; another produces whitened, deformed, or even unblown bottles. Where does the difference lie? Most of the time, it comes down to just a few degrees.
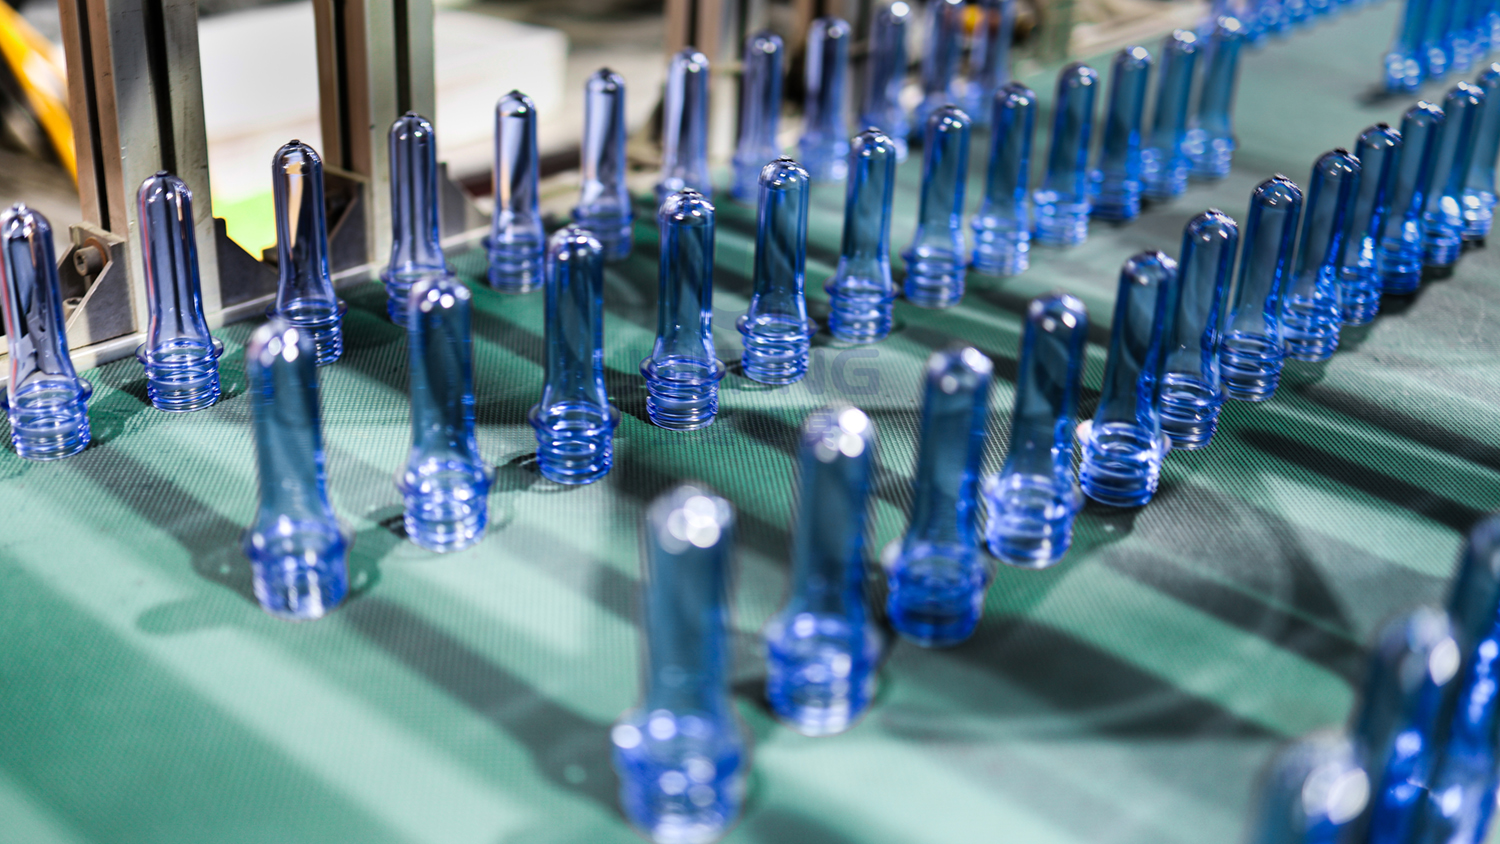
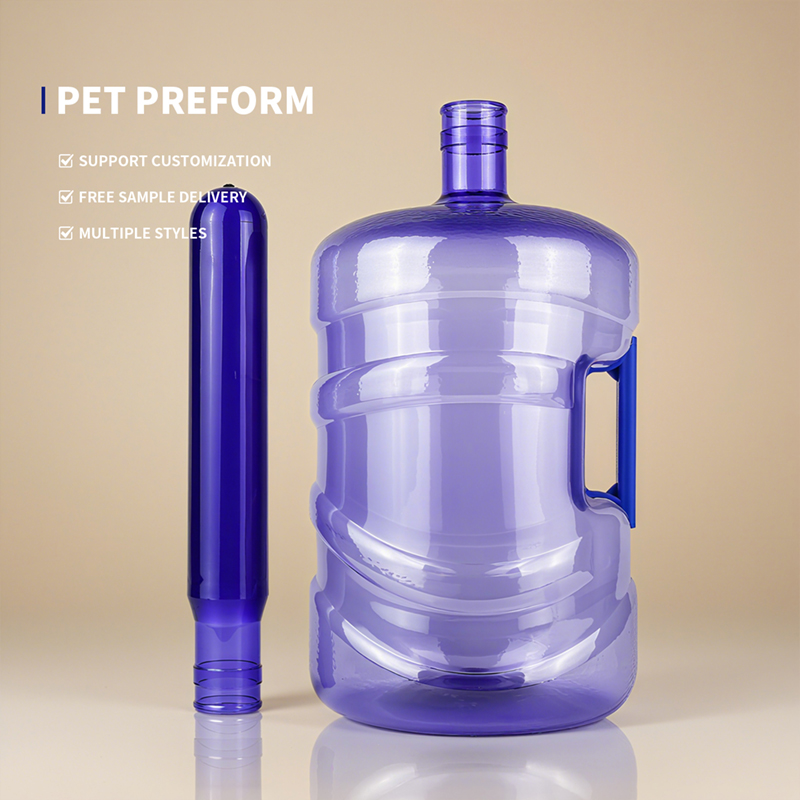
After leaving the injection molding machine, a PET preform goes through four stages – heating, stretching, blowing, and cooling – to become a finished bottle. Temperature is the most critical and most easily overlooked control variable in this process. Too high is bad, too low is bad, and uneven is also bad – PET’s processing temperature window is inherently narrow, and a slight mistake can scrap an entire batch.
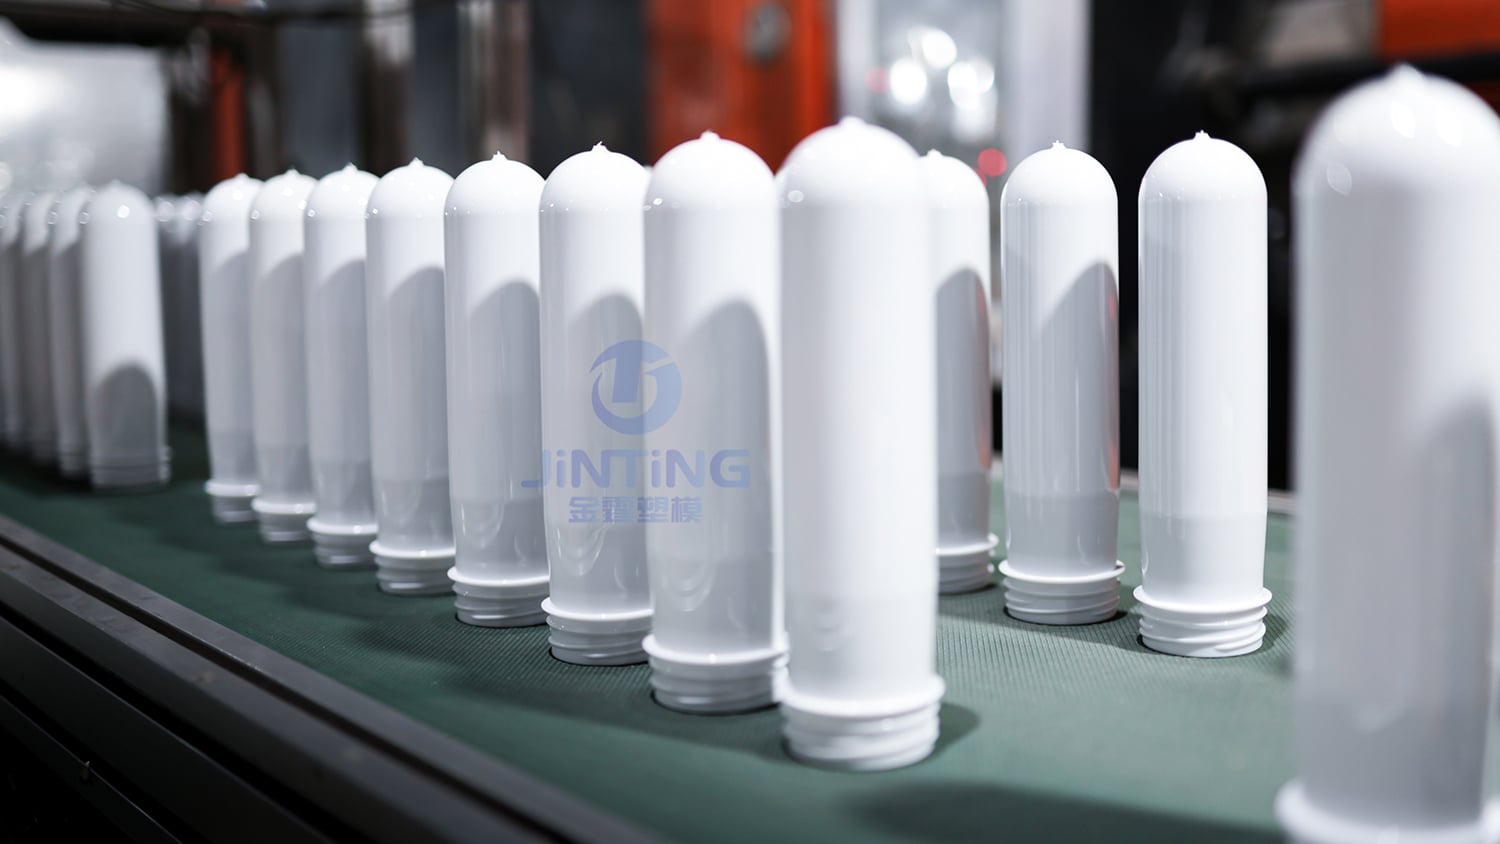
This article starts from fundamental principles and systematically analyzes the impact of temperature on each stage of PET preform blow molding, with special emphasis on the additional challenges and countermeasures posed by summer and winter ambient temperatures.
PET is a semi-crystalline thermoplastic. At room temperature, its molecular chains are in a “frozen” amorphous state (glassy state) – hard and brittle. To turn a preform into a bottle, it must be heated to above the glass transition temperature (Tg ≈ 75–80°C) but below the crystallization temperature, at which point PET enters its rubbery state – soft and stretchable like rubber.
This temperature window is typically 90–120°C. Preform heating temperature is generally set at 85–120°C – clear preforms require slightly higher temperatures, while colored preforms need lower ones. Within this range:
Molecular chains gain sufficient mobility to be stretched and oriented
But they do not crystallize too quickly (crystallization would make the bottle white and opaque)
After rapid blowing and cooling, molecular orientation is “frozen,” making the bottle rigid and transparent
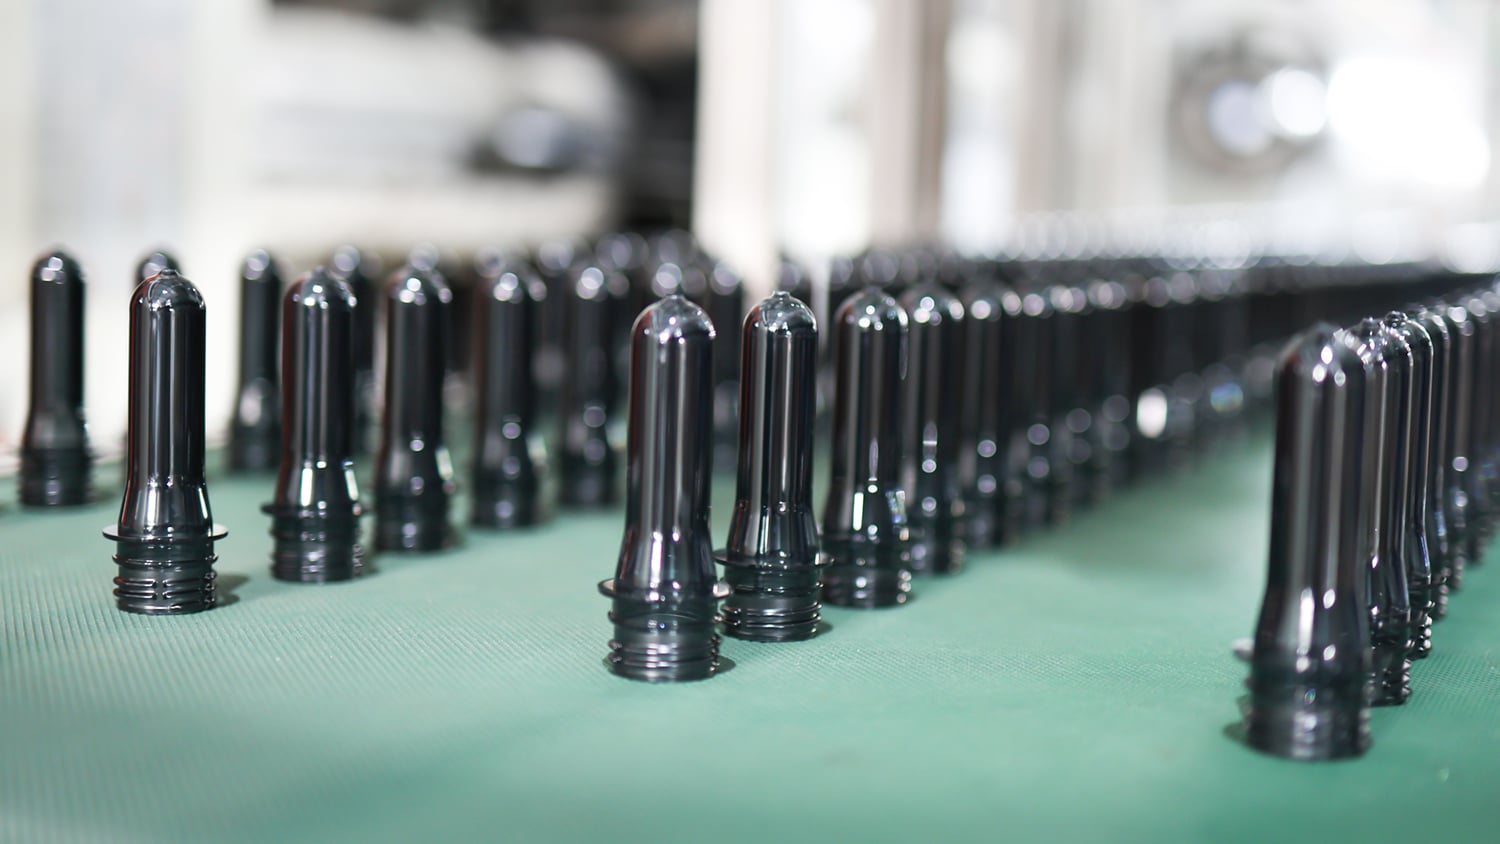
Step outside this temperature range, and problems begin.
| Defect | Cause |
|---|---|
| Bottle whitening, haze, reduced transparency | Excessive PET crystallization, forming spherulites |
| Neck thread deformation | Preform too soft, unable to hold shape |
| Shoulder collapse or localized deformation | Local overheating, excessive material fluidity |
| “Navel” depression at the base | Base temperature too high |
| Poor transparency | Heating temperature too high or heating time too long |
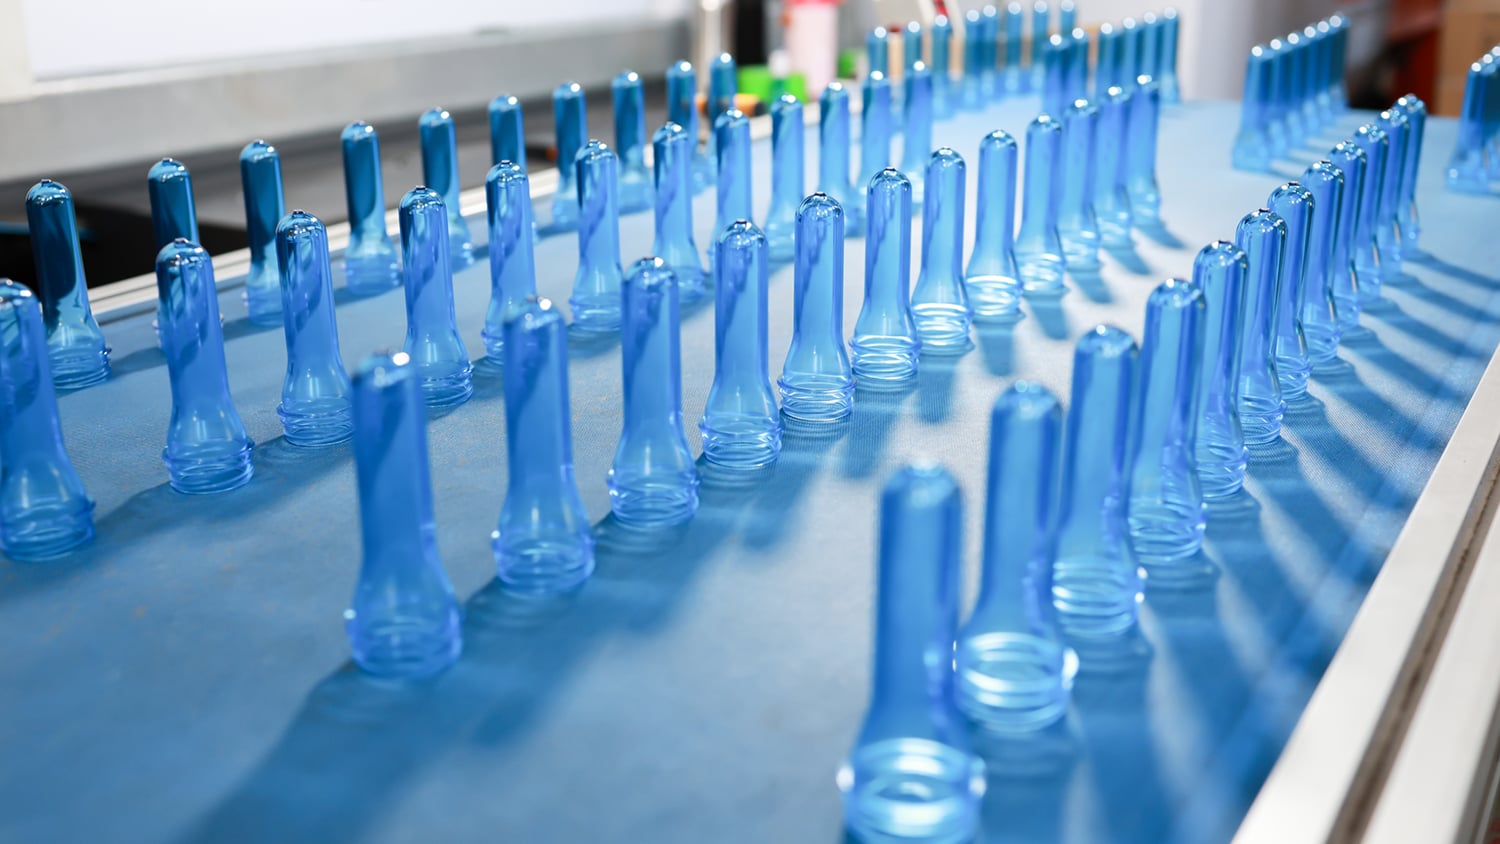
When preform temperature is too high (approaching or exceeding the 120°C upper limit), PET molecular chains become overly active and undergo thermal crystallization prematurely during stretch blow molding, forming visible spherulites. These spherulites scatter light, turning what should be a transparent bottle milky white or hazy.
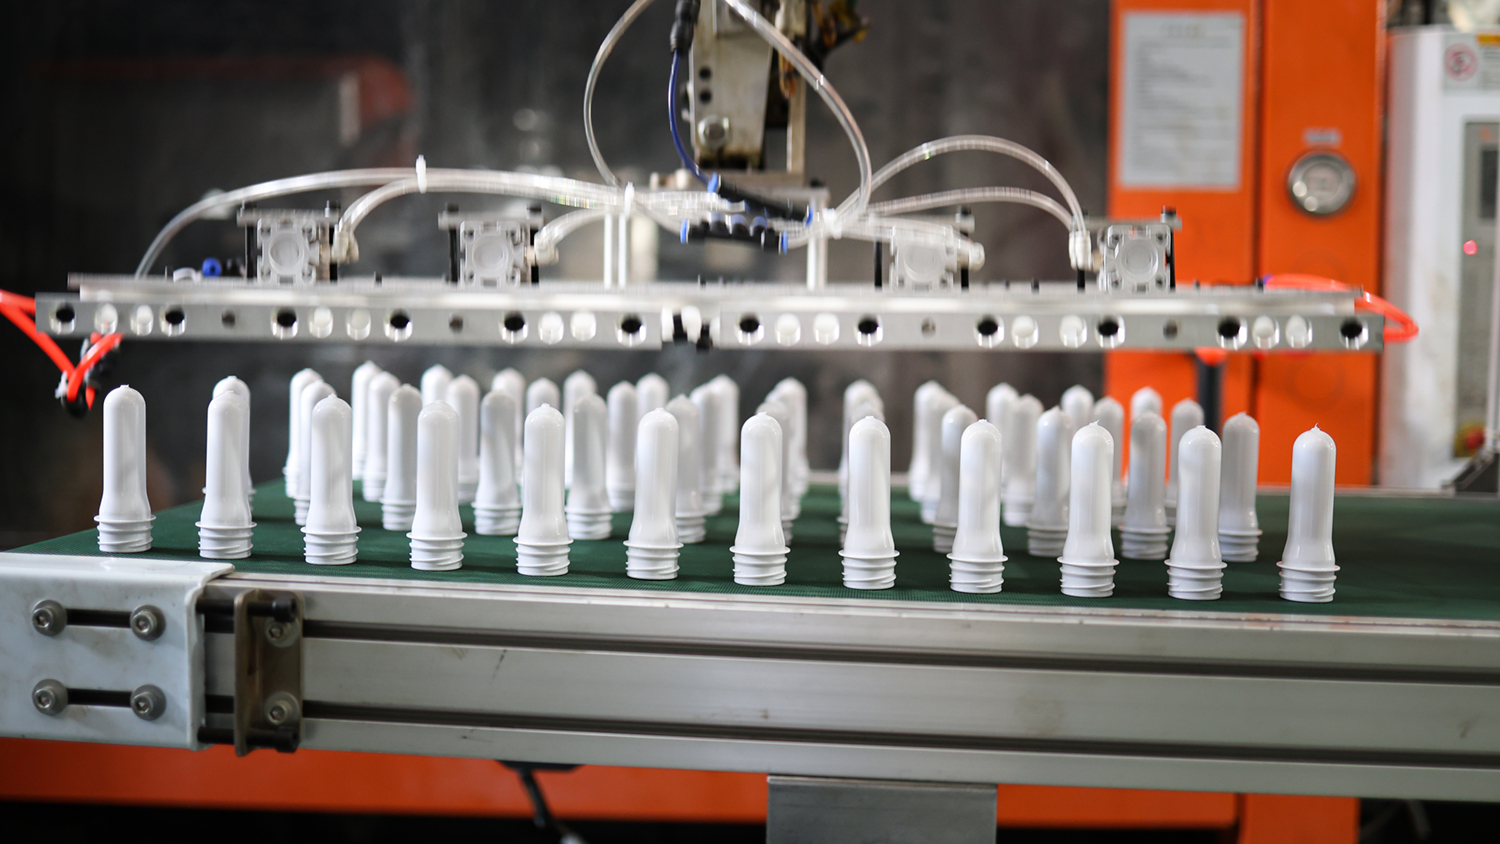
Excessively high temperature also over-softens the preform, causing it to lose necessary stiffness. When the stretch rod pushes and high-pressure air blows, the neck threads may deform, and the shoulder may collapse – the resulting bottle has “no backbone.”
PET can be oriented at 88–115°C, but to achieve highly transparent bottles, the orientation temperature range should be kept narrow. Research indicates that the optimum orientation temperature for PET is approximately 105°C.
A factory encountered this during summer production: rising ambient temperature reduced the oven’s cooling efficiency. During preform heating, the mandrel temperature rose, and heat transferred to the thread area, causing neck expansion and air leakage during blowing. The solution was to adjust the cooling plate position to strengthen protection of the preform thread zone.
| Defect | Cause |
|---|---|
| Bottle fails to expand/blow | Preform insufficiently heated, not fully softened |
| Base shrinkage, uneven wall thickness | Preform not fully softened |
| Base whitening | Preform too cold; over-stretching |
| Base breakage (micro-cracks) | Preform base temperature too low; micro-cracks formed by stretch rod |
| Localized whitening | Over-stretching due to low temperature at that point |
| Entire bottle whitening | Preform heating temperature too low |
When temperature is too low, PET molecular chains have not yet gained sufficient mobility and remain in a relatively hard state. Forcing stretching under these conditions:
Molecular chains are insufficiently oriented, failing to form an effective reinforcing structure
Stretching stress is excessive, causing localized stress whitening
If the preform base is too cold, the stretch rod may directly crack it when pushing toward the mold base
If the orientation temperature is set too low, the significantly increased stretching stress will cause stress whitening in PET bottles. Studies show that at 70°C, PET viscosity is too high, causing deformation and wrinkling; above 80°C, defects are significantly reduced. A 10°C difference makes a world of difference in results.
When a factory finds that bottles won’t expand, the usual causes are: ① insufficient air pressure/volume; ② insufficient preform temperature conditioning; ③ preform injection defects. The first two are directly temperature-related – either insufficient heating or inadequate air pressure.
If too high or too low means “wrong direction,” then uneven temperature means “localized loss of control” – more difficult to diagnose and resolve than either.
After re-heating, the temperature distribution along the wall thickness is typically uneven – the outer wall is hotter, the inner wall cooler. This is extremely detrimental to stretching and blowing, causing defects such as spherulites, voids, or delamination within the bottle wall, significantly reducing barrier performance.
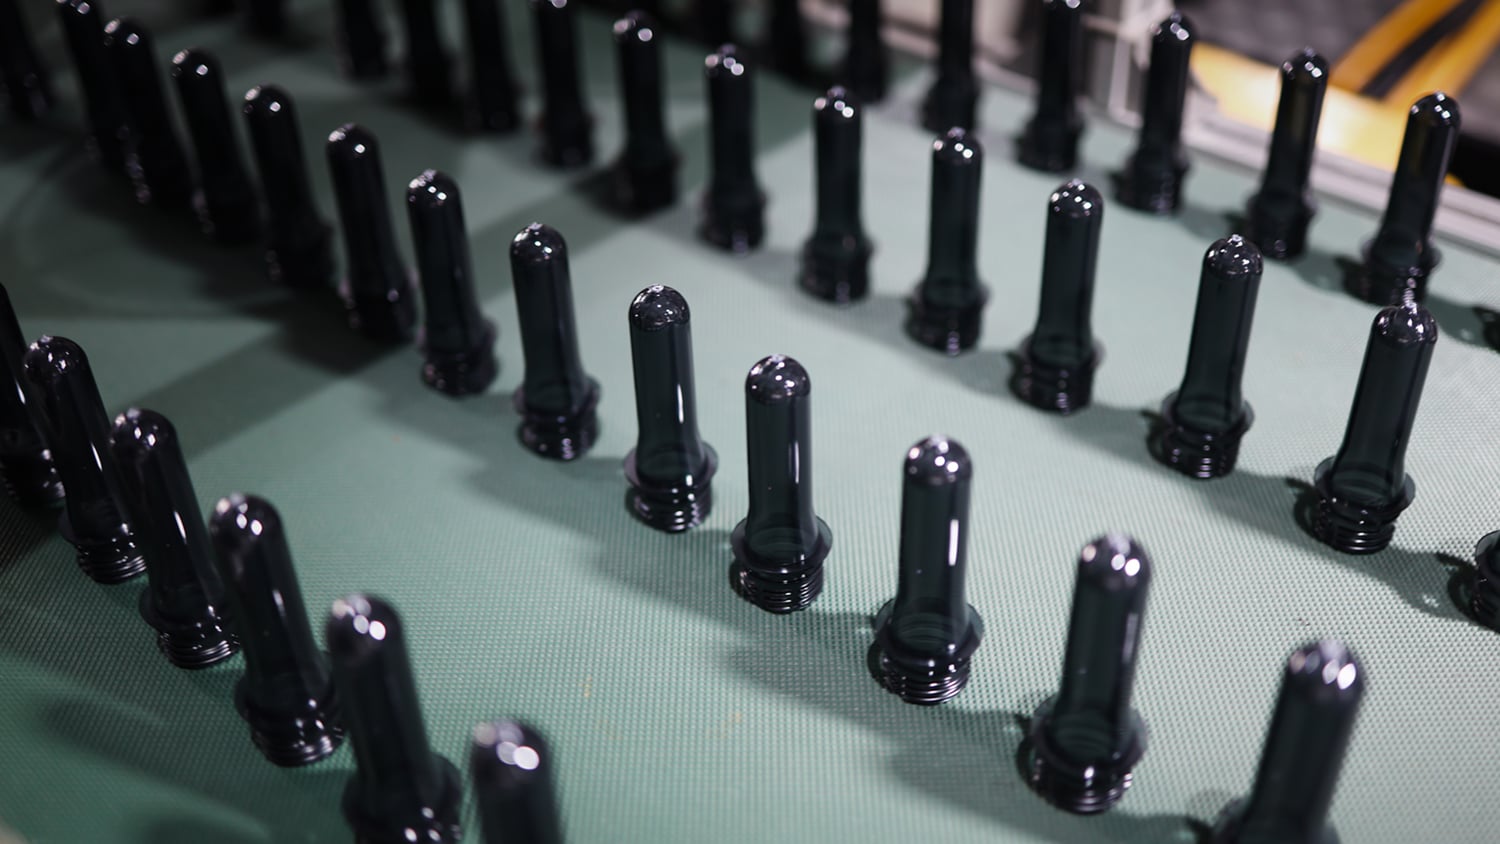
What’s more problematic is that the circumferential stretch ratio of the inner wall is much larger than that of the outer wall – for example, in a 1.5L PET bottle (body diameter 85mm), the preform inner and outer diameters are 18mm and 26mm respectively, giving circumferential stretch ratios of 4.7:1 for the inner wall and 3.3:1 for the outer wall. The inner wall needs greater extensibility, yet it is precisely the cooler one – creating a contradiction where “the area that needs to be softer is actually harder.”
Countermeasure: Before stretch blowing, heat accumulated on the outer wall should be conducted to the inner wall through thermal conduction, while the outer wall is appropriately cooled by air contact, ensuring relatively uniform temperature distribution along the wall thickness. The inner wall temperature should be slightly higher than the outer wall to facilitate stretching.
Different bottle types have different temperature requirements for different preform sections:
Shoulder requires sufficient temperature to expand smoothly
Body needs uniform heating to ensure consistent wall thickness
Base requires precise temperature control – too high causes “navel” depression, too low causes base whitening or micro-cracks
Modern blow molding machines typically employ multi-zone infrared heating ovens (such as 9-zone temperature control systems) to independently control temperatures along the axial direction of the preform. It works like a multi-level oven – top and bottom heating elements each have their own roles.
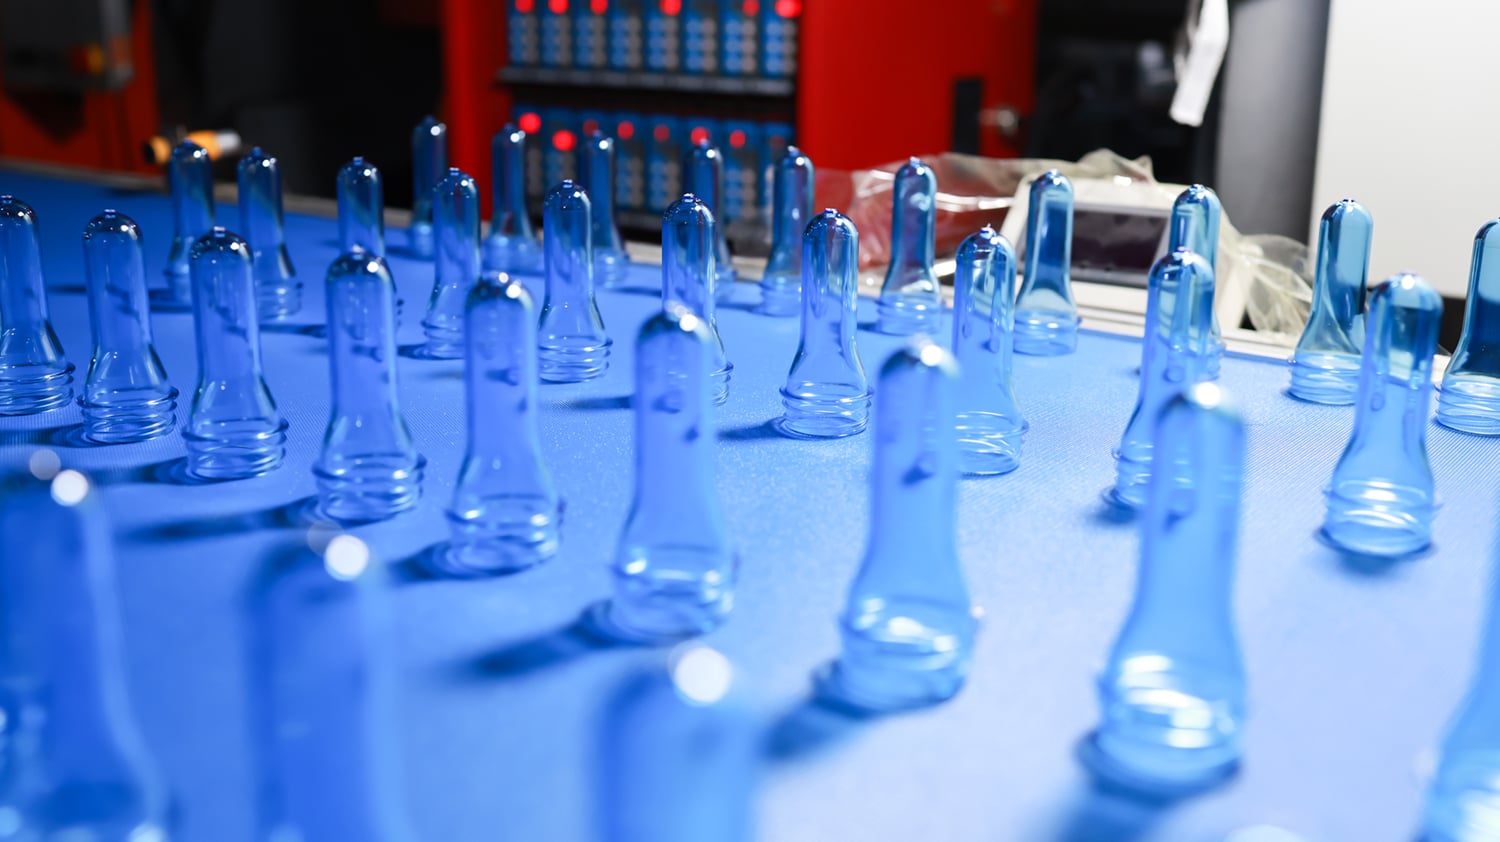
PET has very low thermal conductivity – typical blow molding PET has a thermal conductivity of only 0.25 W/m·K. If using conduction heating, heat would transfer from outside to inside too slowly – it simply wouldn’t be fast enough.
Therefore, the industry commonly uses far-infrared heating – infrared radiation has penetrating power and can directly heat the interior of the preform, making internal and external heating more uniform. At the same time, preforms continuously rotate inside the oven, further ensuring circumferential heating uniformity.
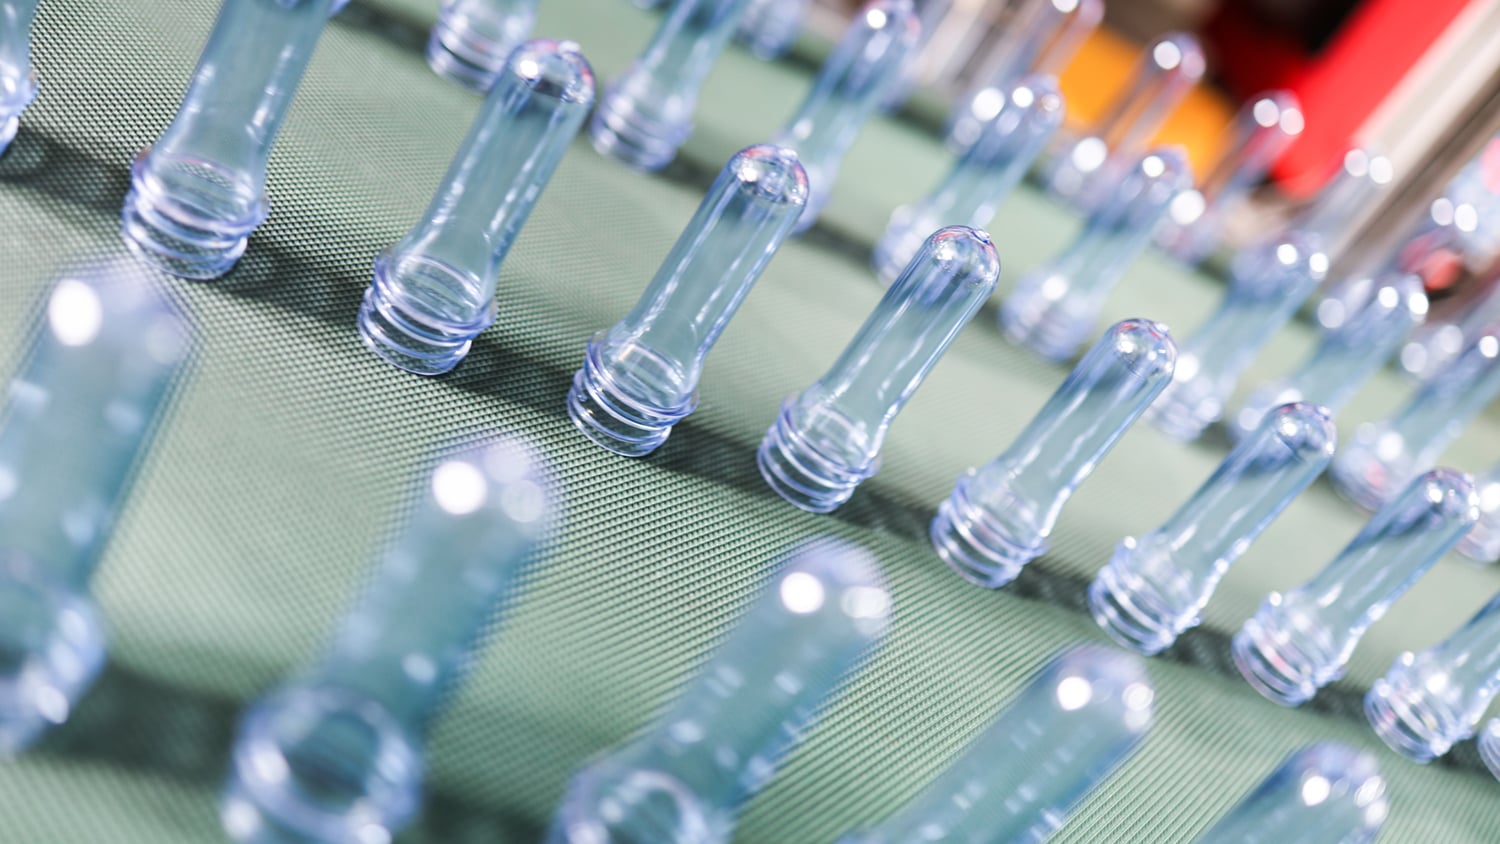
Carbonated beverage bottles must withstand internal pressure (approx. 4 bar), requiring high strength. Their orientation temperature is typically controlled at 90–100°C to increase induced stress and improve internal pressure resistance. The total stretch ratio should be 10:1 or greater, with circumferential (4–7):1 and axial (1.4–2.6):1.
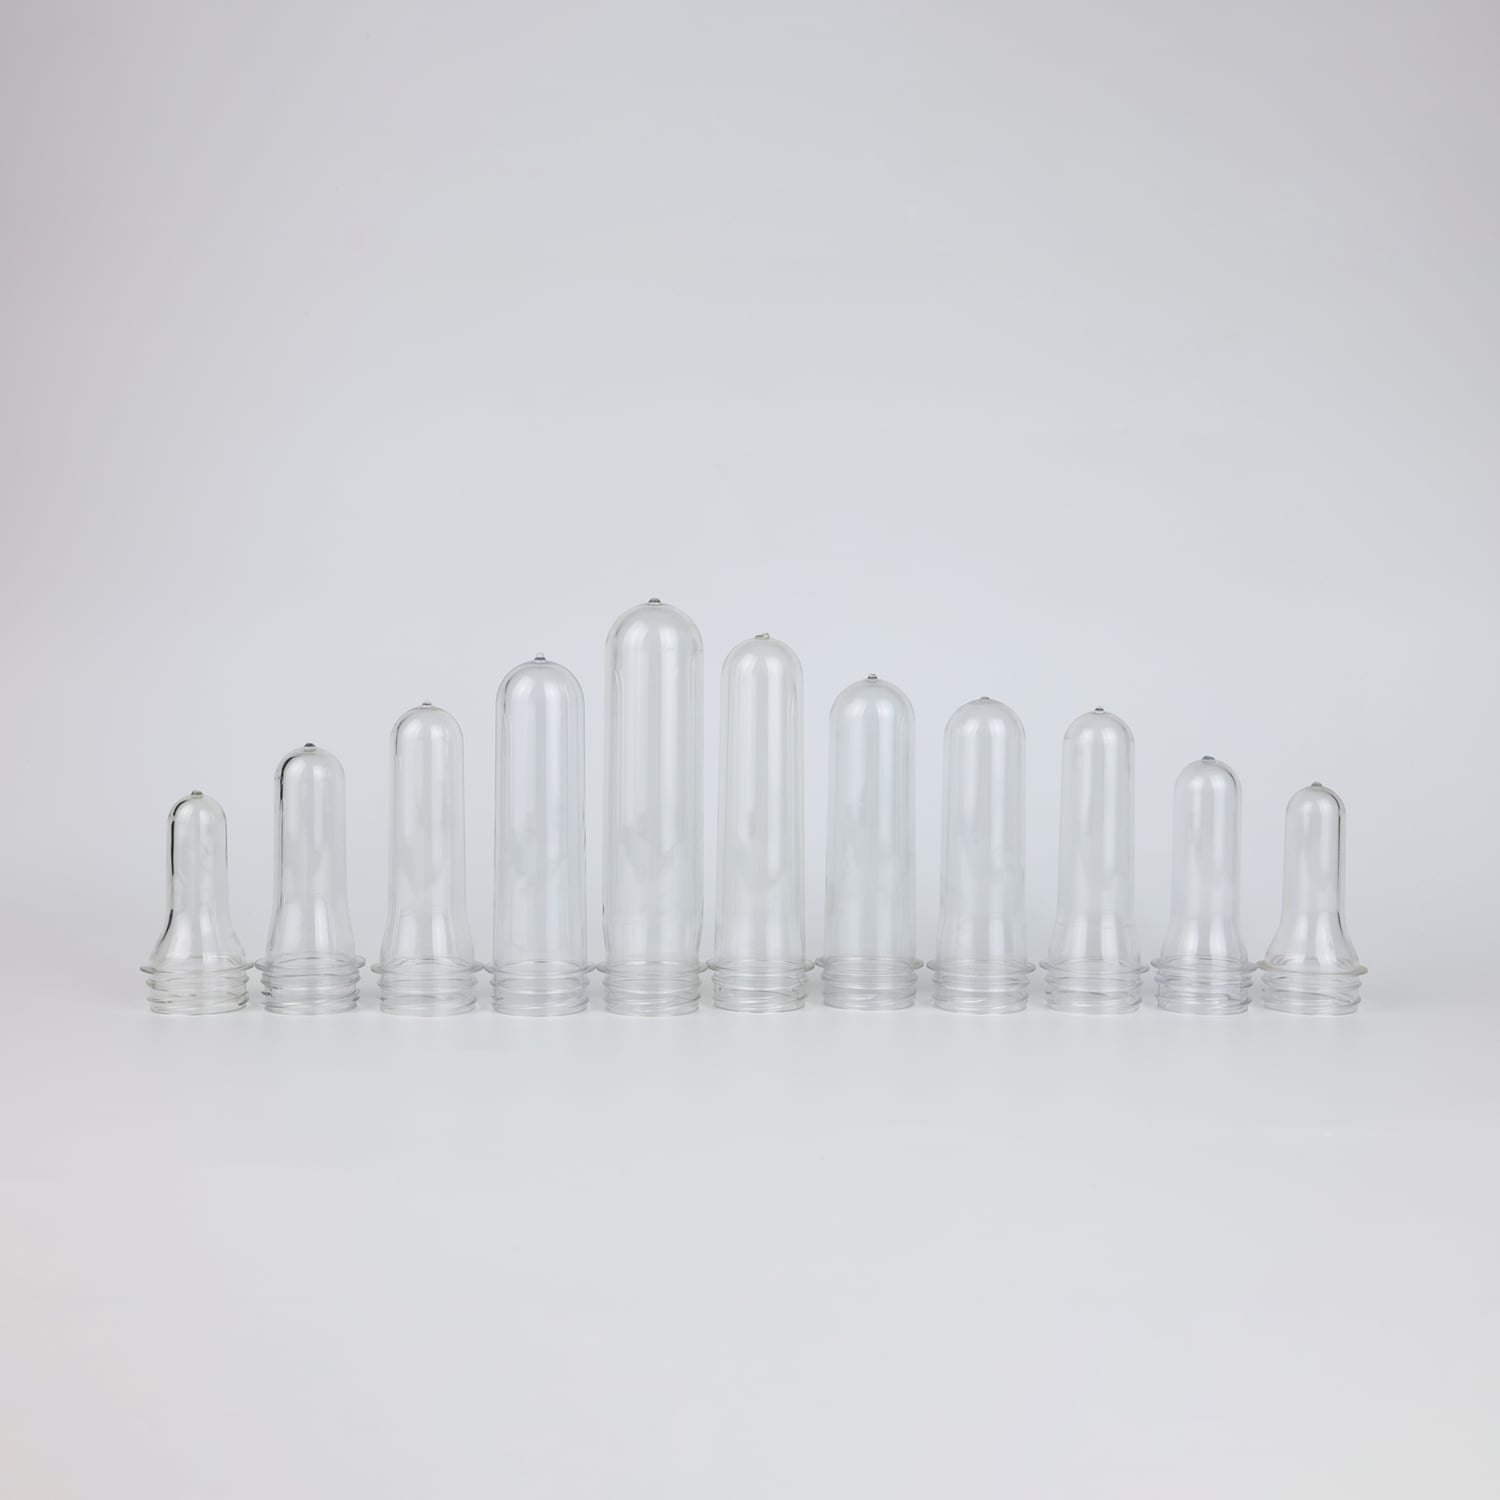
Hot-filling (tea drinks, juices, filling temperature 80–95°C) demands extremely high heat resistance from bottles. Ordinary PET bottles shrink and deform at high temperatures. Hot-fill bottles require heat setting after blow molding:
Blow mold heated to 120–140°C
Bottle crystallinity raised to approximately 35% , significantly improving heat resistance
Under high mold temperature, the temperature difference between preform and mold is reduced, promoting further crystallization
Cold-fill bottles (ambient-temperature water) are completely different – mold temperature is low (3–10°C) for rapid cooling and setting. The bottles are transparent but have poor heat resistance. For cold-fill bottles, since base cooling determines the degree of molecular orientation, the base temperature should be controlled at 5–8°C.
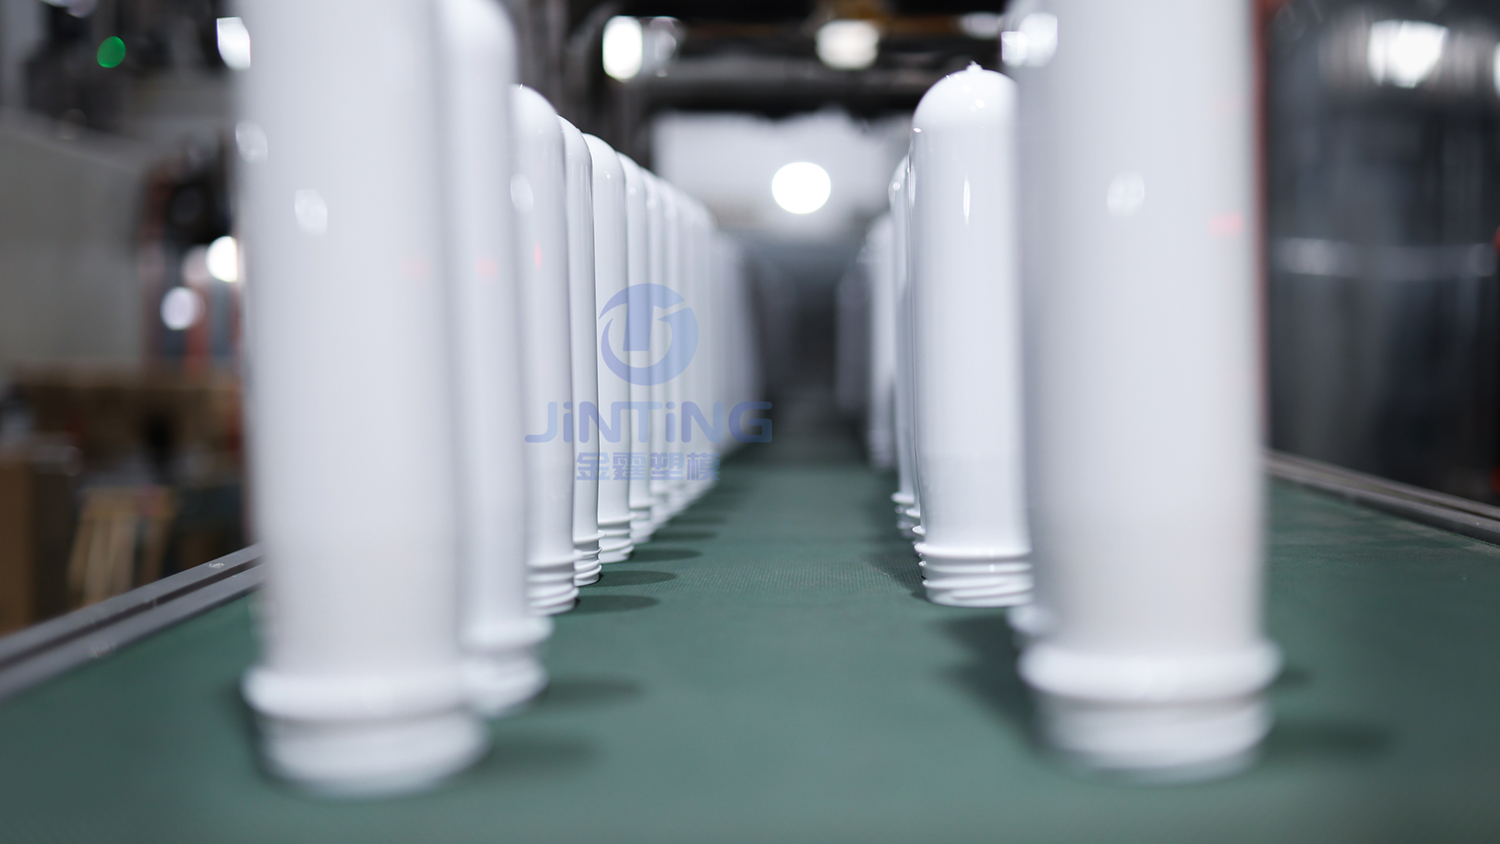
Preform heating temperature settings also relate to color: clear preforms require slightly higher temperatures, while colored preforms require lower ones. This is because pigments affect PET’s infrared absorption efficiency – darker colors absorb heat faster, potentially reaching higher temperatures under the same oven settings.
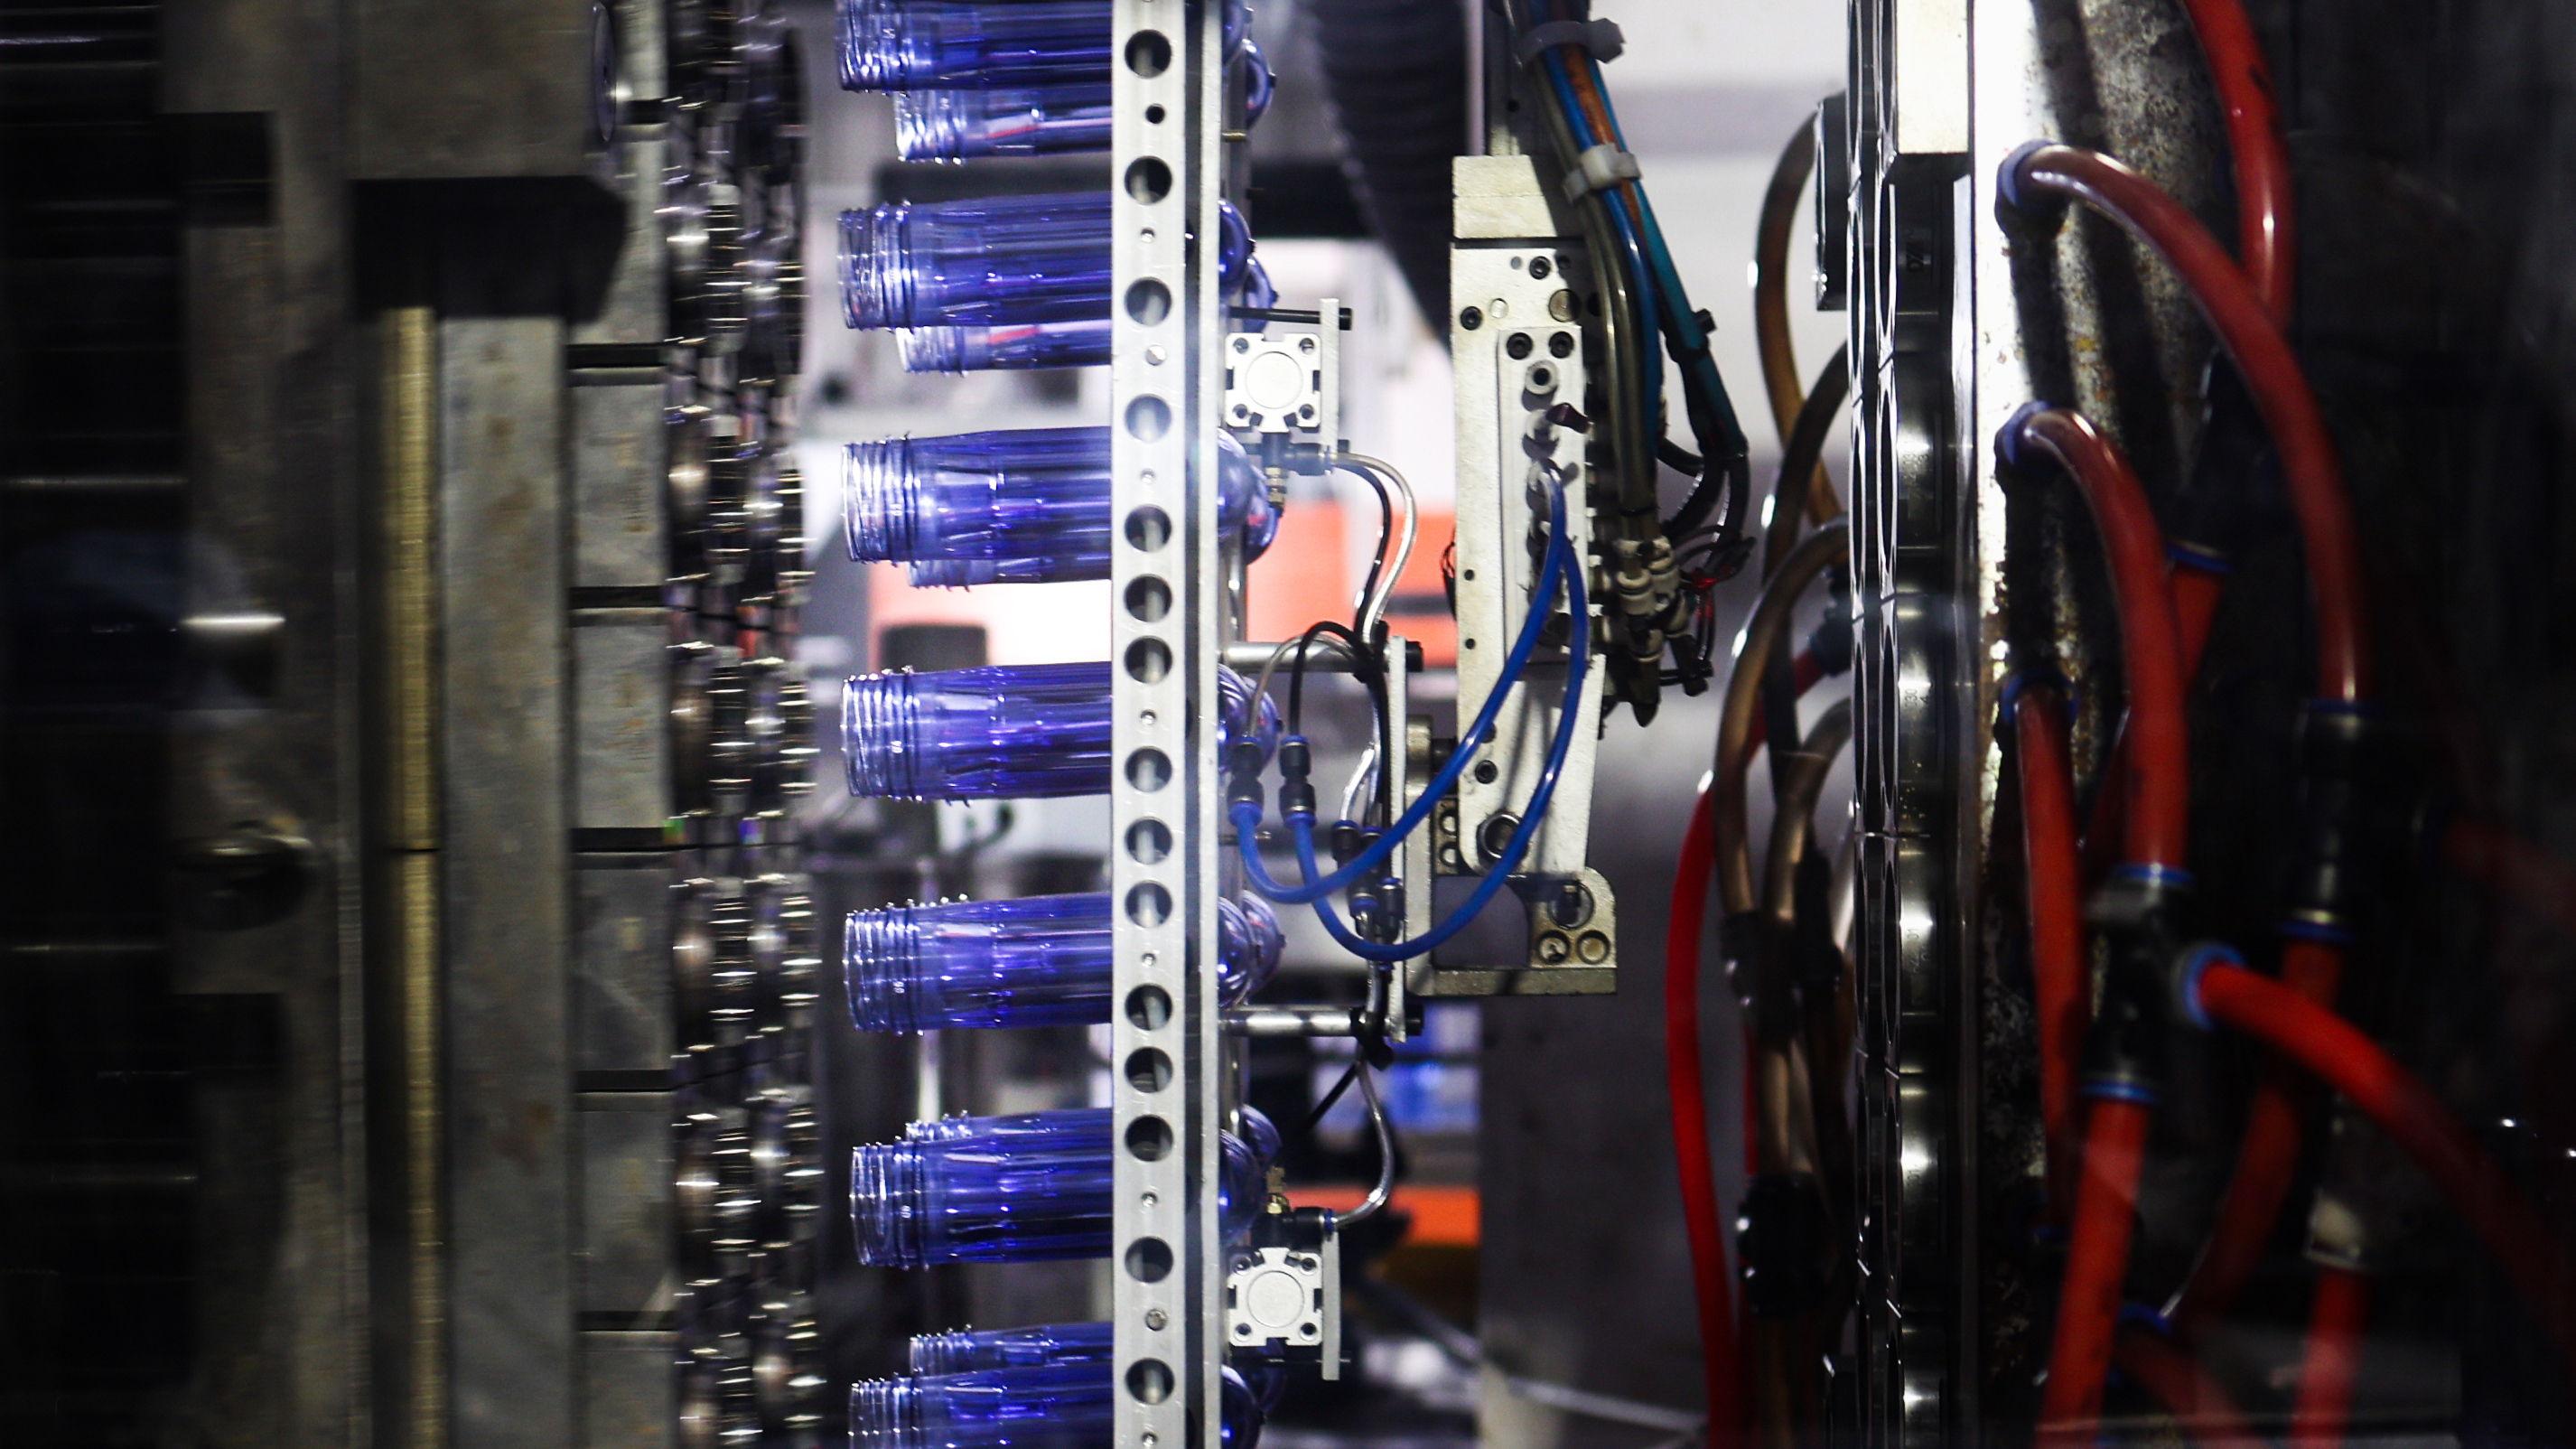
All the temperature control discussed above assumes a constant, ideal environment. But reality is: blow molding workshops have four seasons.
Blow molding production processes also relate to ambient temperature – room temperature around 22°C is generally optimal. The same oven temperature setting can produce completely different bottles in summer vs. winter. Many experienced factory technicians often say: “Summer adjustments are about cooling down; winter adjustments are about keeping heat in. ” Behind this saying lies the systematic impact of ambient temperature on the blow molding process.
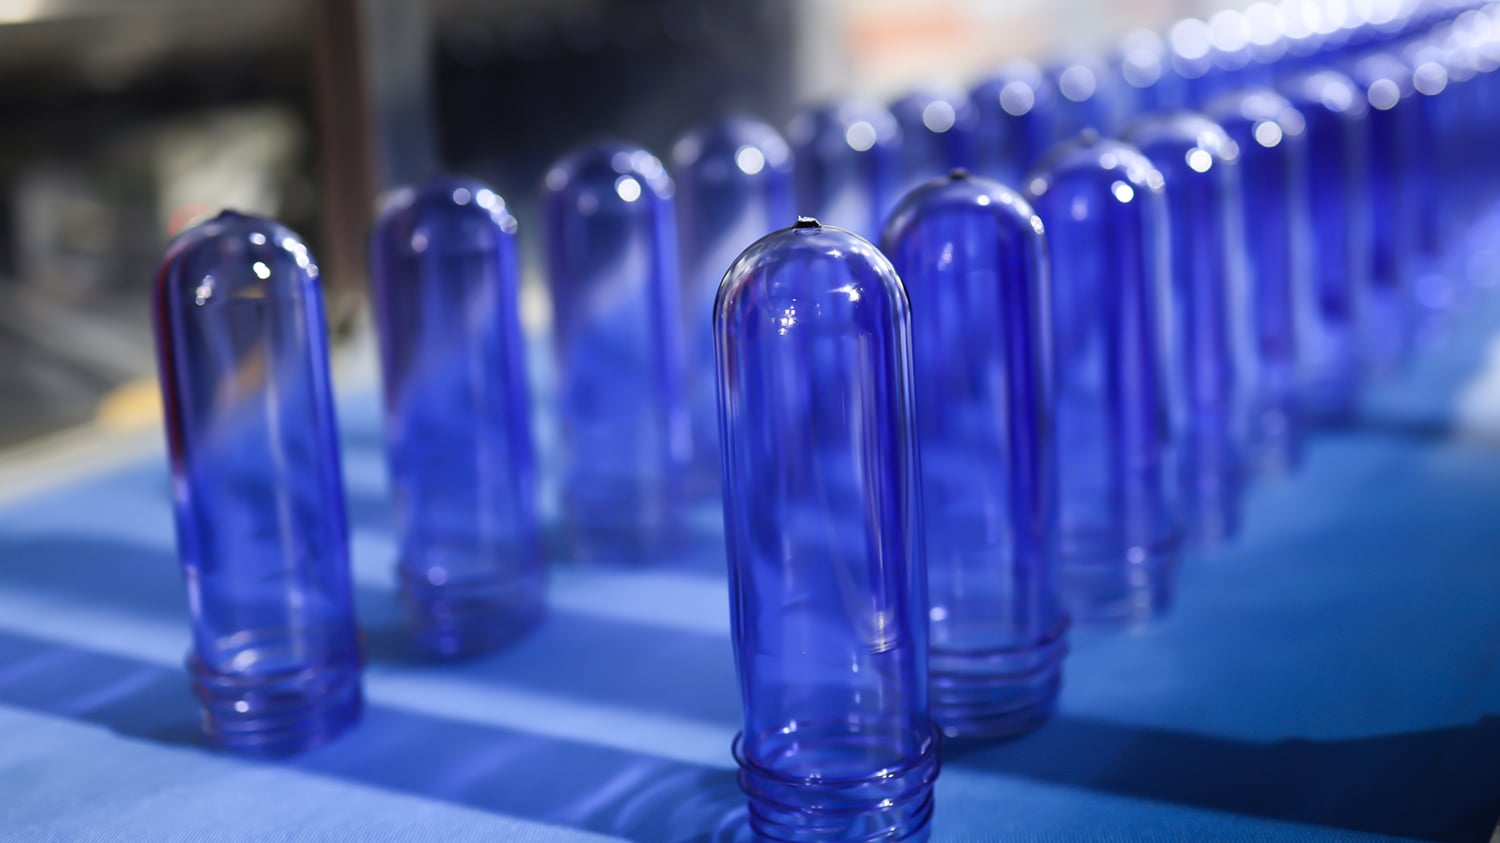
The core challenge of summer blow molding is: ambient temperature is already high, equipment heat dissipation is difficult, and preforms are “already warm before they even enter the oven.”
Summer workshop temperatures can reach 35–40°C. Preforms exit injection molding at 45–55°C; if storage temperatures are high, the preform’s initial temperature is already elevated compared to winter. This means:
Preforms enter the oven at a higher starting temperature, making them more prone to overheating under the same heating power
The temperature difference between surface and interior may shrink, but the overall temperature more easily breaches the crystallization temperature upper limit
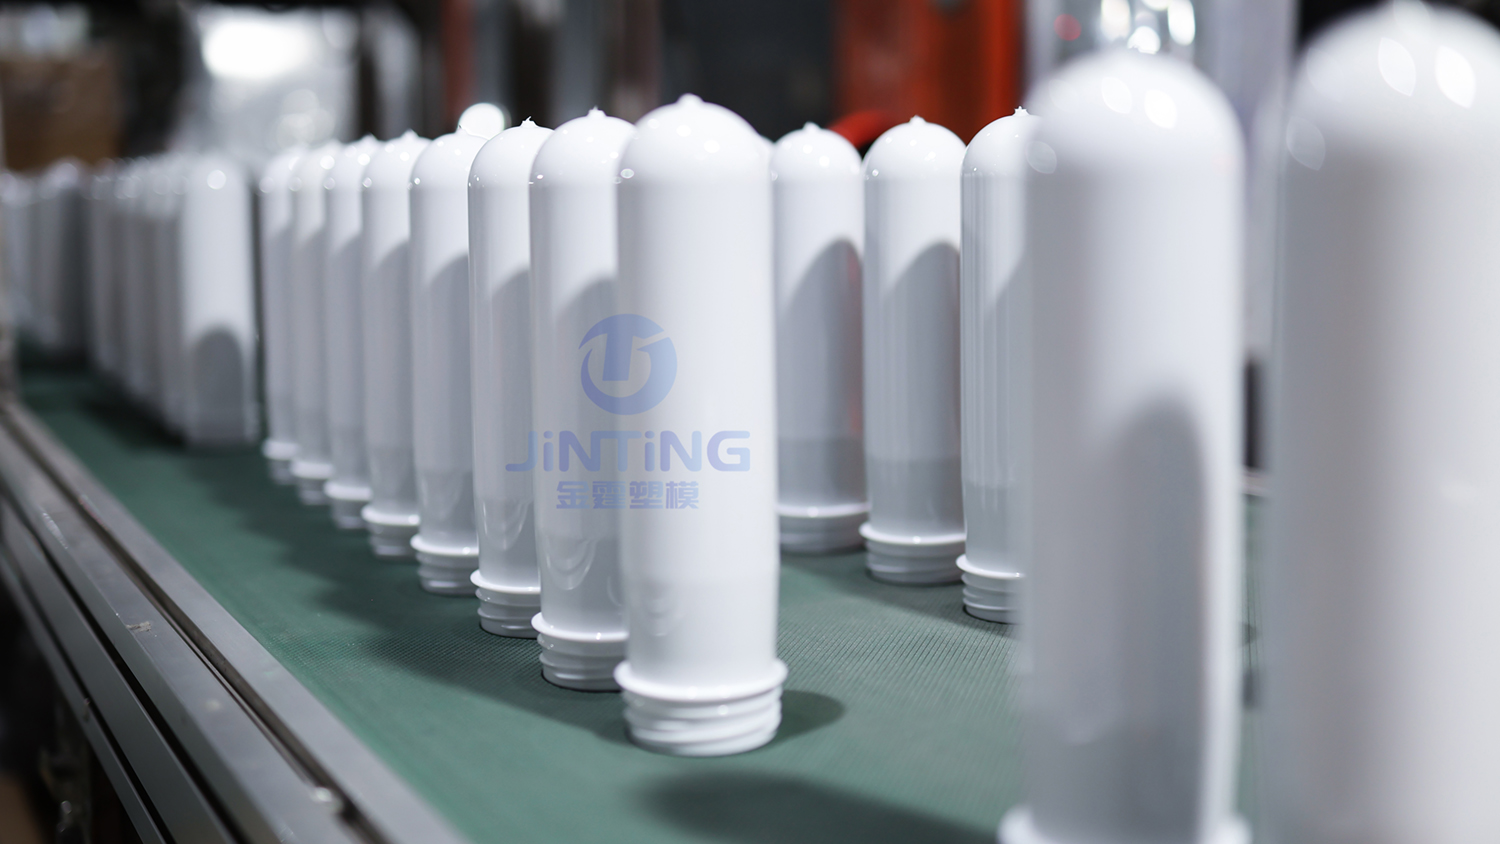
Recommendation: Store preforms in a temperature-controlled warehouse at or below 28°C. The temperature difference between the blow molding workshop and the preform warehouse should be kept within 2°C to effectively prevent preforms from absorbing moisture due to sudden temperature changes.
While the oven heats preforms, it also dissipates heat to the surrounding environment. In summer, with high ambient temperature, the temperature difference between oven and environment is small, reducing heat dissipation efficiency, causing:
Actual oven internal temperature is higher than the set value
With the same heating time, preforms absorb more heat
Prone to overheating-induced whitening and haze
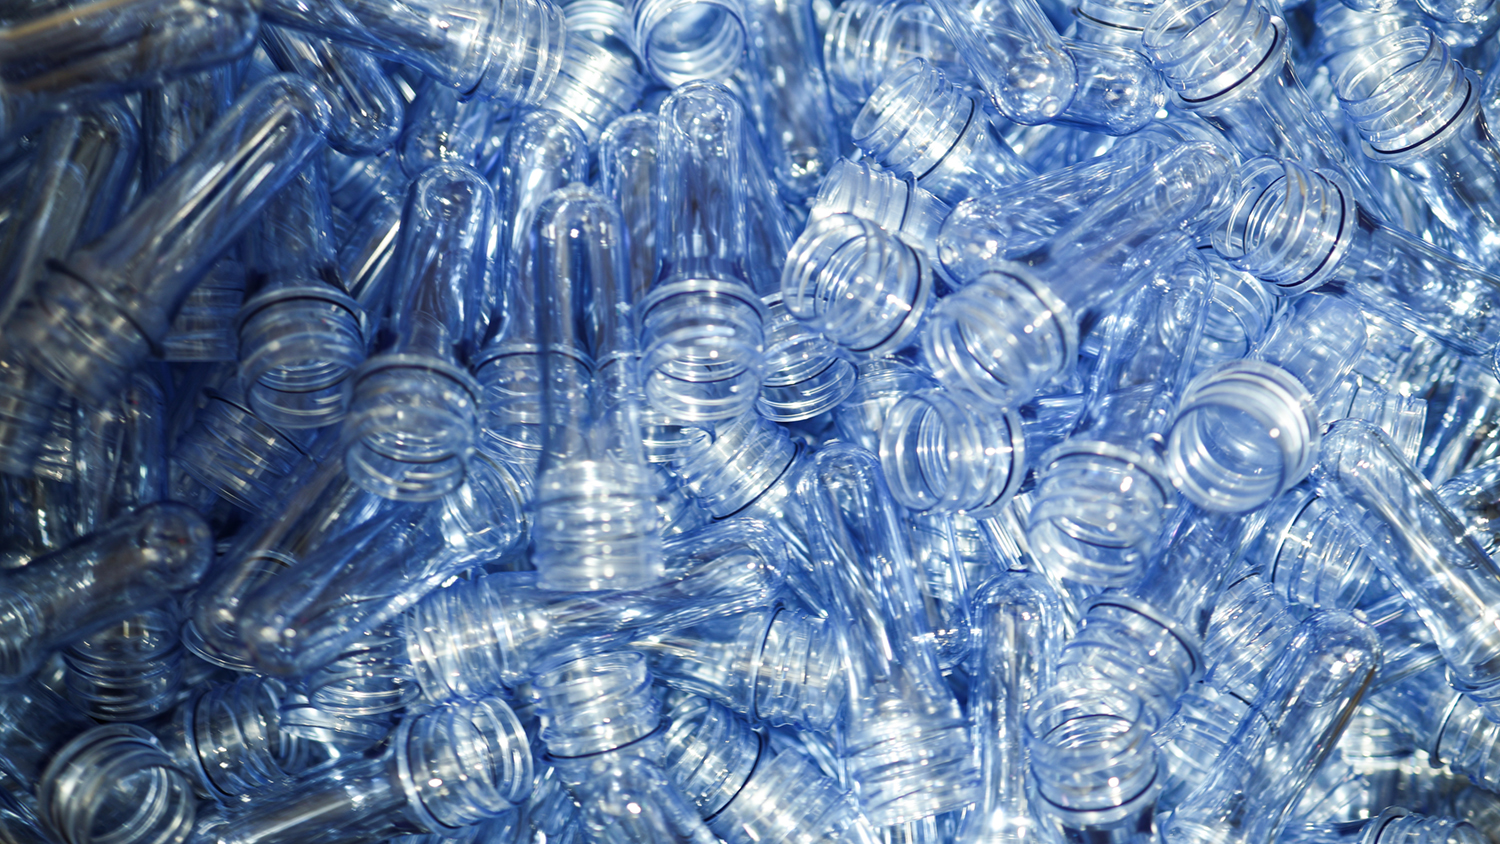
Countermeasure: In summer, appropriately reduce oven output power. Output power should generally be around 80%. Experience shows that for every 5°C increase in ambient temperature, oven output power can be reduced by 3%–5%. Also closely observe the color and condition of preforms exiting the oven – if the surface shows slight whitening or bluish tint, the temperature is too high. Reduce shoulder heating temperature and extend the preheating zone residence time.
Blow molds require cooling water for temperature control. Summer cooling tower water temperatures can be 5–10°C higher than in winter. Elevated cooling water temperature means:
Bottles are insufficiently cooled after demolding; molecular orientation cannot be effectively “frozen”
Bottles may be completely hazy (opaque)
Base temperature is elevated, prone to “navel” depression
 |
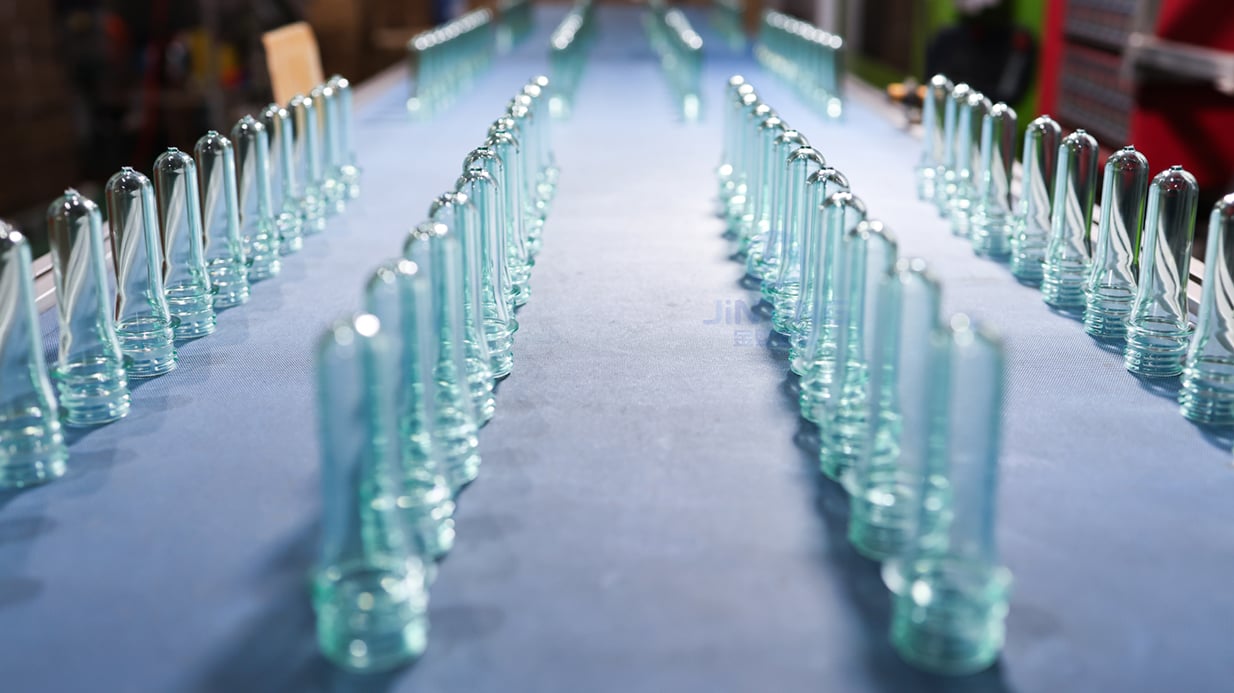 |
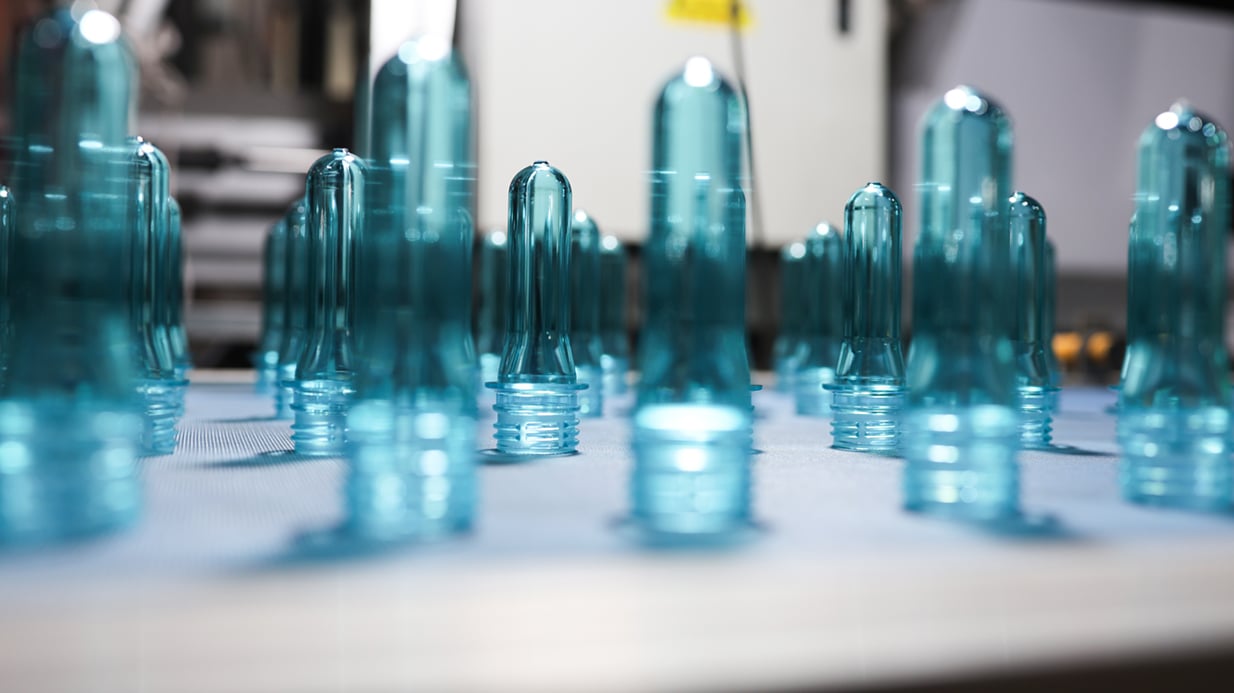
Countermeasure: In summer, increase cooling water flow rate or reduce cooling water set temperature. When preform wall thickness is less than 4mm, mold cooling water temperature should be 10–15°C; for preforms with wall thickness greater than 4mm, water temperature should be as low as 2–5°C. For cold-fill bottles (ambient filling), base temperature should be controlled at 5–8°C.
Summer (especially in regions south of the Yangtze River and coastal areas) can see relative humidity above 90%. PET is a hygroscopic polymer; when ambient humidity is too high (e.g., above 60% RH), the material absorbs moisture from the air.
When preforms with excessive moisture content enter the high-temperature (260–280°C) blow molding stage, moisture triggers hydrolysis – PET molecular chains break, IV value drops. Consequences include:
Reduced mechanical properties, lower impact resistance and pressure resistance
Increased acetaldehyde and other substances, potentially causing off-odors in bottled beverages
Bubbles, silver streaks and other defects on the bottle body
Countermeasure: In summer, strengthen dehumidification in preform storage, ensuring humidity does not exceed 70%. The production workshop should maintain a stable environment at 20–25°C and 40–50% RH. Preforms should be taken and used immediately from warehouse to workshop, minimizing exposure time to hot, humid conditions.
| Defect | Root cause | Solution |
|---|---|---|
| Bottle whitening/haze | High ambient temp + oven overheating | Reduce oven output power by 3%–5% |
| Entire bottle hazy | Cooling water temperature too high | Increase cooling water flow, lower water temperature |
| Base “navel” | Base temperature too high | Reduce heating intensity in base zone |
| Bubbles/silver streaks on bottle | PET moisture absorption and hydrolysis | Strengthen storage dehumidification, control humidity ≤70% |
| Reduced mechanical properties | IV drop due to hydrolysis | Shorten preform storage time in hot/humid conditions |
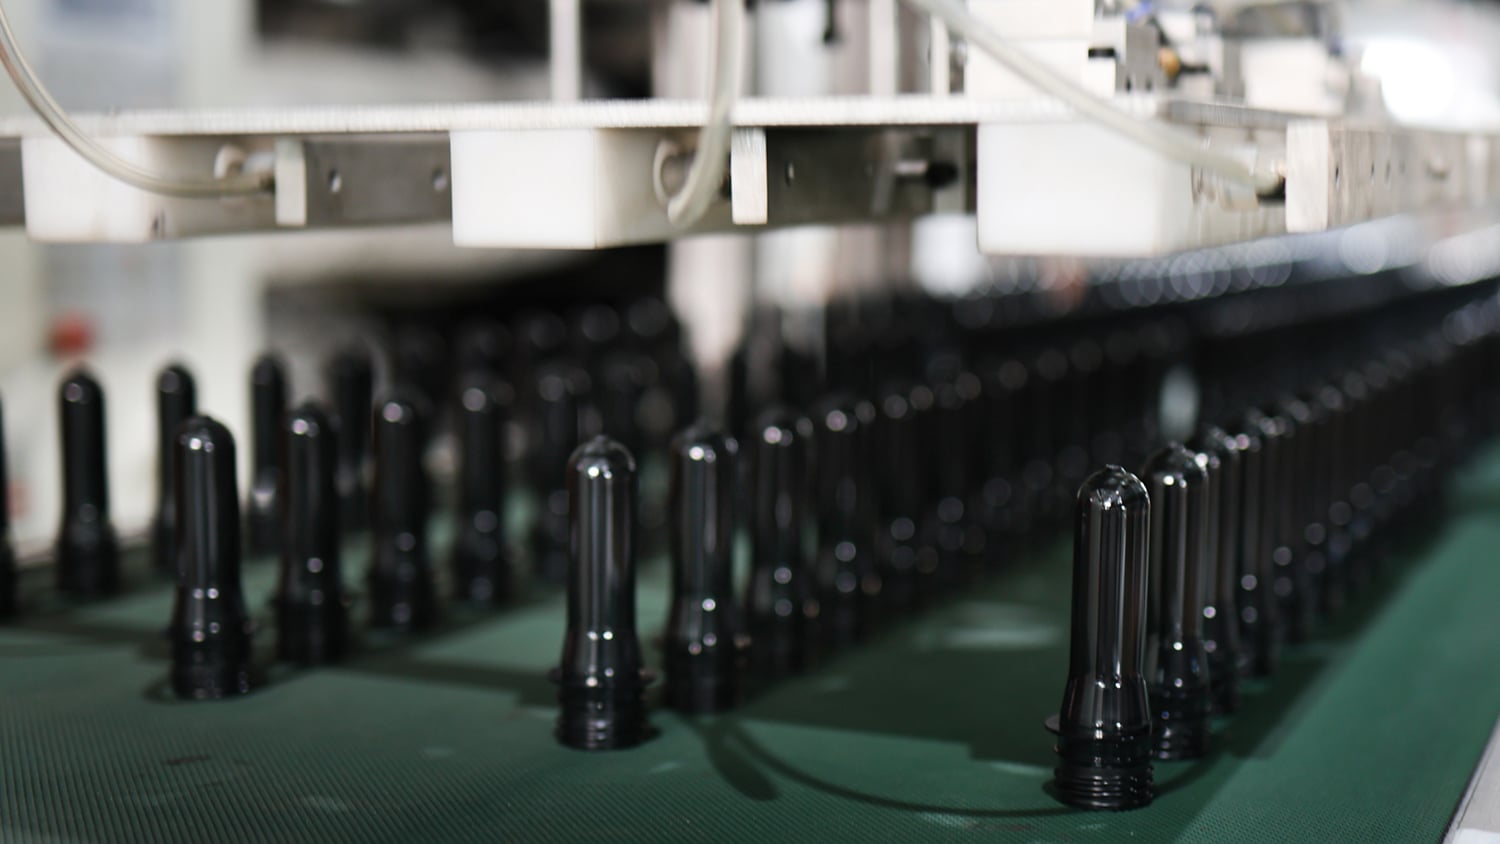
The core challenge of winter blow molding is: ambient temperature is low, preforms are “thoroughly chilled,” heating efficiency drops, and equipment starts up with difficulty.
Winter workshop temperatures can drop to 5–10°C or even lower. Preforms from warehouse to workshop have overall temperatures far below summer levels. This means:
Preforms enter the oven at a lower starting temperature, requiring more heat to reach the rubbery state (90–120°C)
Under the same oven settings, preforms are underheated, prone to issues like failing to expand and localized whitening
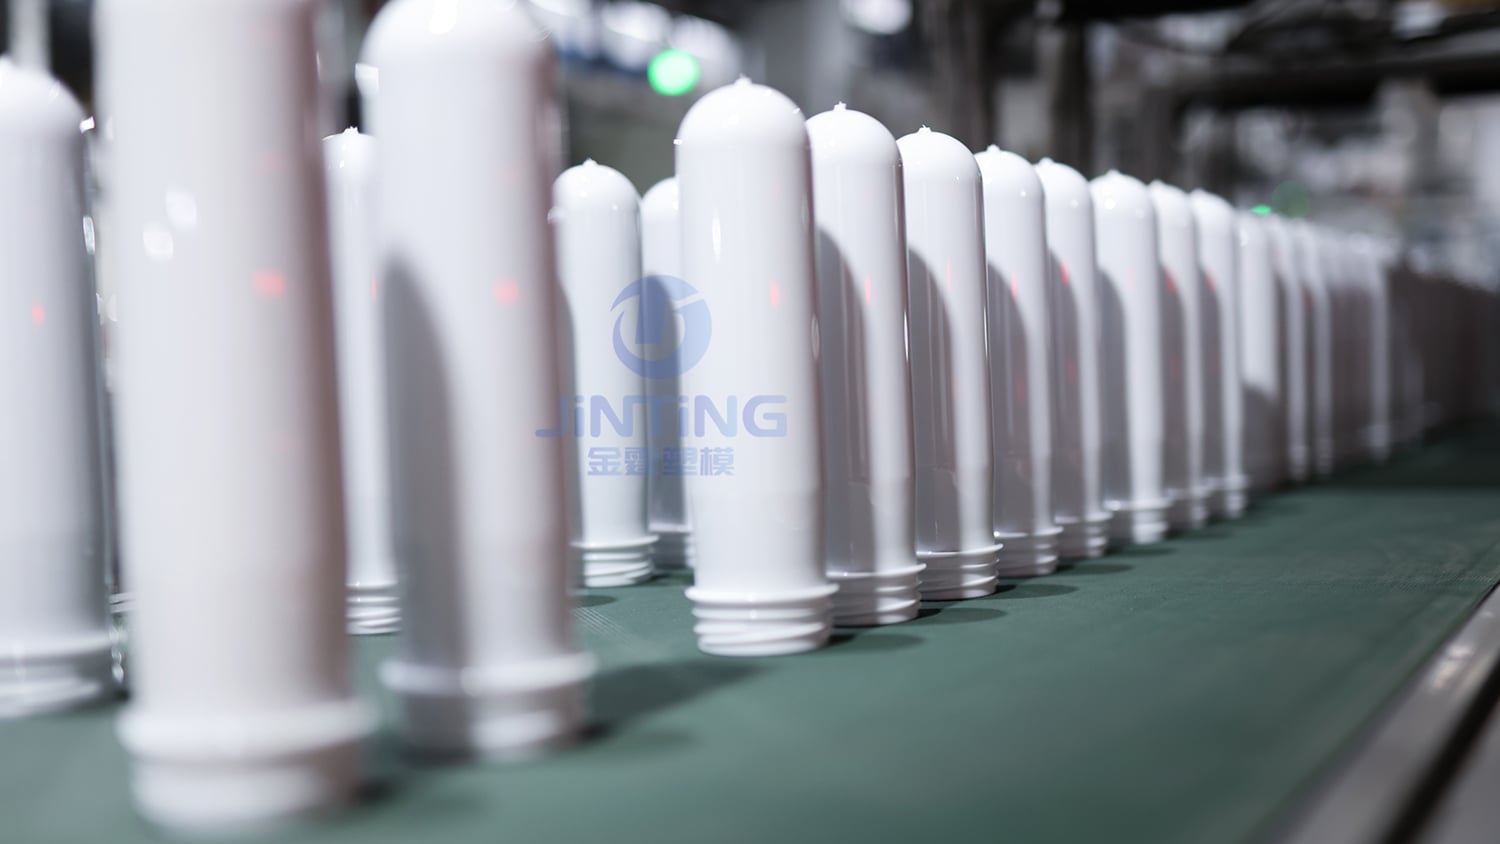
Countermeasure: In winter, appropriately increase oven output power. When restarting after extended downtime, the initial output power should be set higher, then gradually reduced to normal during production. This adjustment is more significant when ambient temperature is below 5°C. Clear preforms require slightly higher temperatures, while colored preforms require lower ones.
In winter, low ambient temperature means a large temperature difference between oven and environment, accelerating heat loss:
Actual oven internal temperature is lower than the set value
With the same heating time, preforms absorb less heat
Prone to insufficient heat penetration causing failure to expand and whitening
Countermeasure: In winter, check oven insulation condition, ensuring good sealing. Consider increasing oven output power or slowing down preform travel speed through the oven to extend heating time. For thicker preforms, insufficient heat penetration is more pronounced in winter.
When ambient temperature is too low, product performance is unstable during machine startup. Specific manifestations include:
Low hydraulic oil temperature, sluggish operation
Pneumatic components respond slower
Quality fluctuations in the first few batches
Countermeasure: Before starting up in winter, preheat equipment in advance (e.g., run oven idle for 10–15 minutes, preheat hydraulic system). When restarting after extended downtime, set initial output power higher.
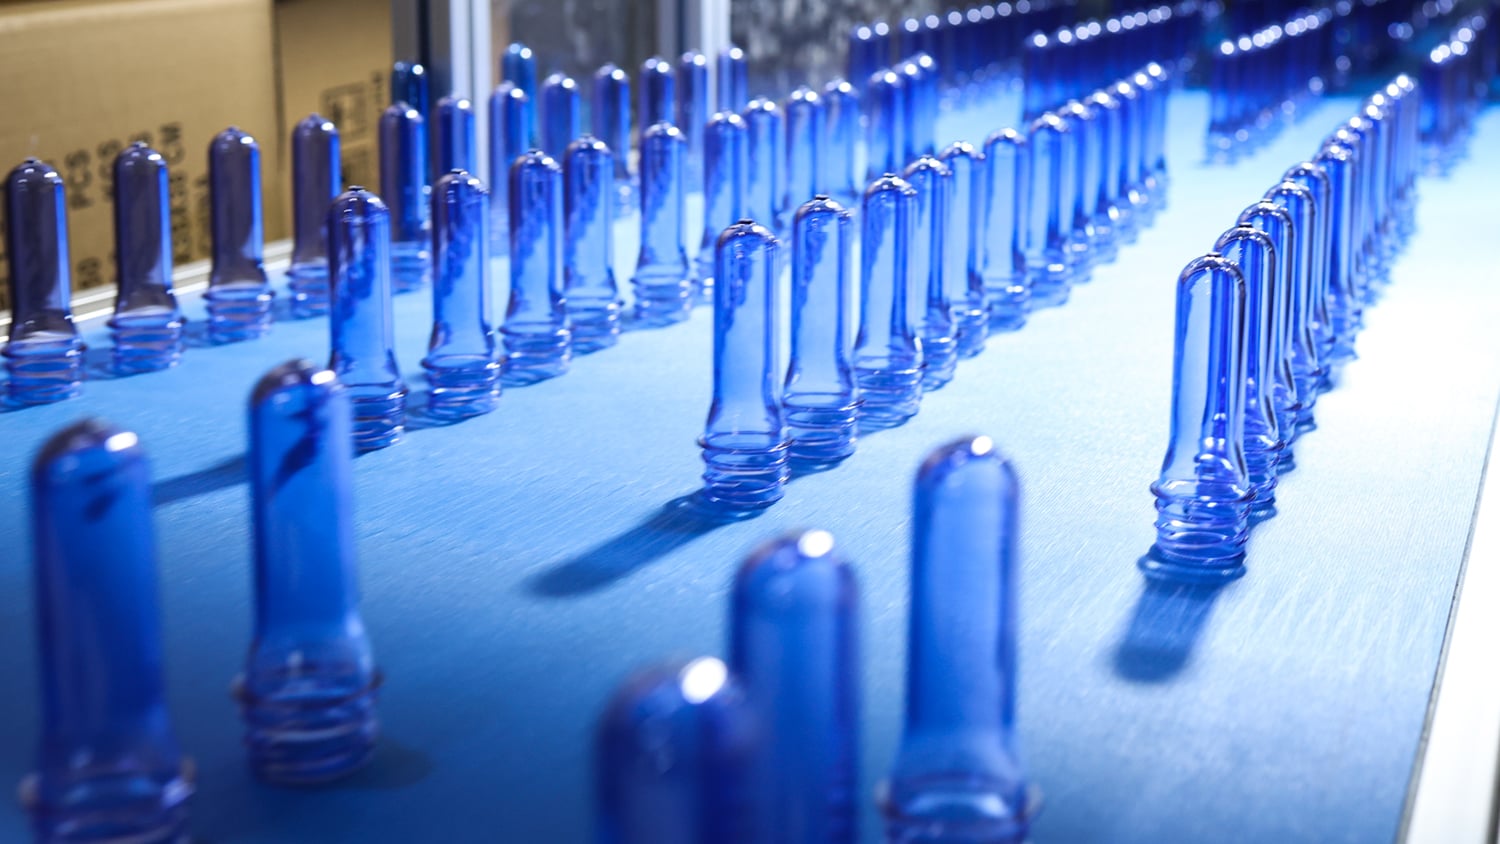
In winter, low workshop temperature (e.g., below 15°C) accelerates preform cooling, making it difficult to release internal stress – prone to cracking after blowing (especially at stress concentration points like neck and base):
Preform surface temperature drops too quickly, inner-outer temperature difference increases
Internal stress is difficult to release, leading to cracking after blowing
When localized temperature is too low, over-stretching causes localized whitening
Countermeasure: In winter, shorten the transfer distance from oven to blow mold to reduce intermediate cooling. Also check the clearance between stretch rod and base mold – typically 1/3 to 1/2 of preform wall thickness – either too large or too small will amplify defects under winter low-temperature conditions.
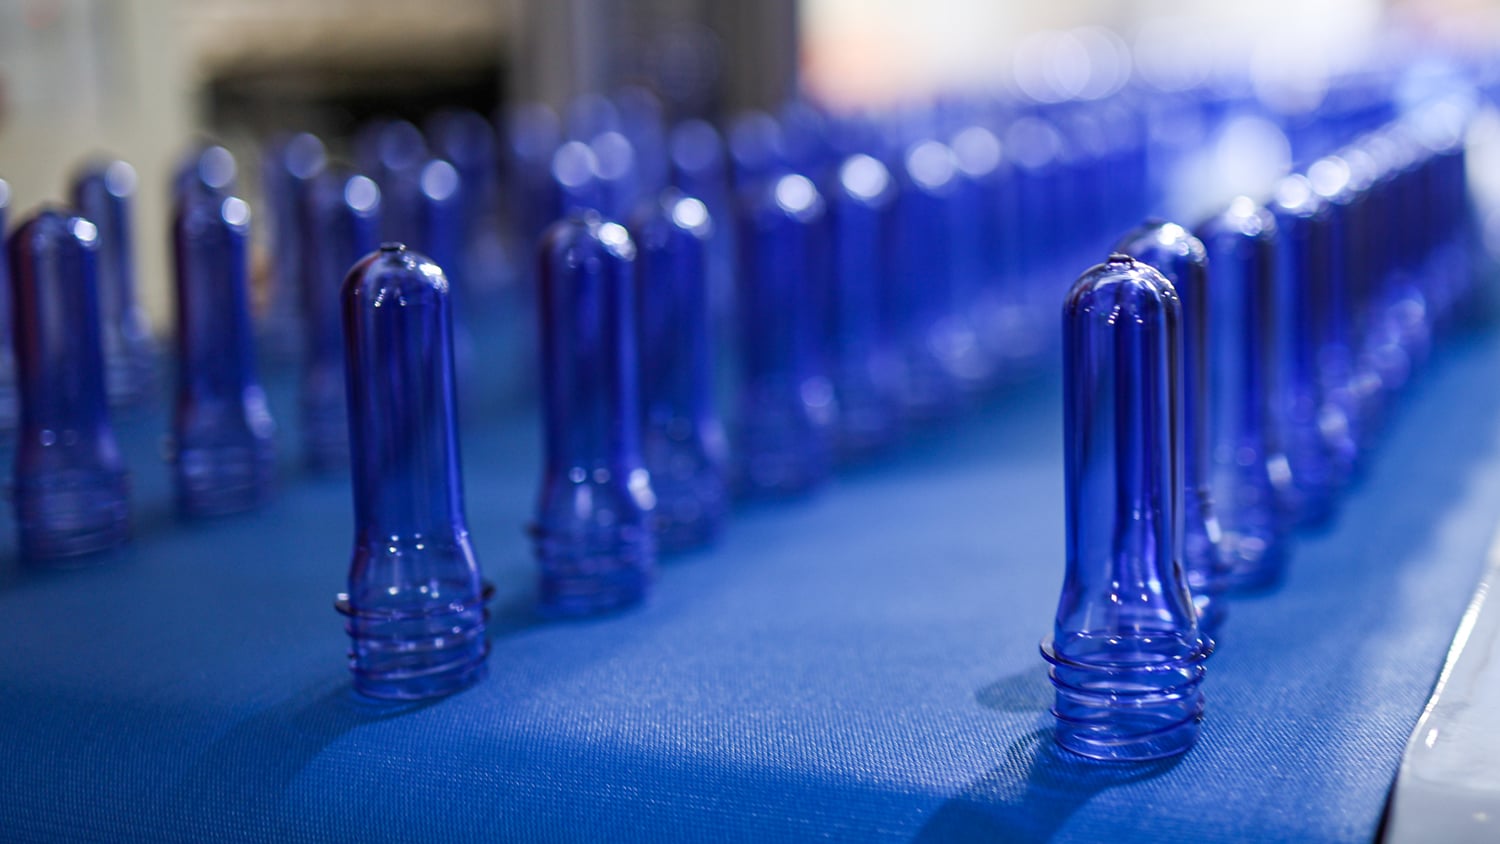
| Defect | Root cause | Solution |
|---|---|---|
| Bottle fails to expand | Insufficient preform heating | Increase oven output power or slow down travel speed |
| Localized whitening | Temperature too low at that point | Increase heating power in that zone |
| Base micro-cracks/breakage | Base temperature too low | Adjust preform end temperature |
| Neck cracking | Stress concentration + low-temperature brittleness | Shorten transfer distance, check clearance |
| Quality fluctuations at startup | Equipment not preheated | Preheat equipment 10–15 minutes before startup |
Whether summer or winter, daily fluctuations in ambient temperature and humidity are the biggest enemy of blow molding process stability.
Workshop temperature and humidity change daily, requiring regular manual adjustment of various process parameters within a very narrow processing window. Ambient temperature should generally be around room temperature (approximately 22°C).
Summer vs. winter temperature adjustment reference table:
| Adjustment item | Summer (hot) | Winter (cold) |
|---|---|---|
| Oven output power | Reduce 3%–5% | Increase, especially at startup |
| Preform heating temperature | Lower appropriately | Raise appropriately |
| Cooling water temperature | Lower set value, increase flow | May raise or maintain |
| Preform travel speed | May speed up appropriately | Slow down, extend heating time |
| Storage temperature | Control below 28°C | Avoid too low (recommend ≥10°C) |
| Storage humidity | Control below 70% | Relatively insensitive, but still note |
| Startup strategy | Normal start | Preheat equipment 10–15 minutes |
| Preform-workshop temp difference | Control within 2°C | Control within 2°C |
Trend in modern blow molding machines:
Advanced blow molding machines have begun incorporating intelligent temperature control systems. For example, using multi-point temperature sensors to collect the temperature of each preform after heating, then actively adjusting heating power through automatic compensation, so that every preform has the same temperature at the same inspection point – preventing heating instability caused by ambient temperature changes – thereby ensuring bottle yield.
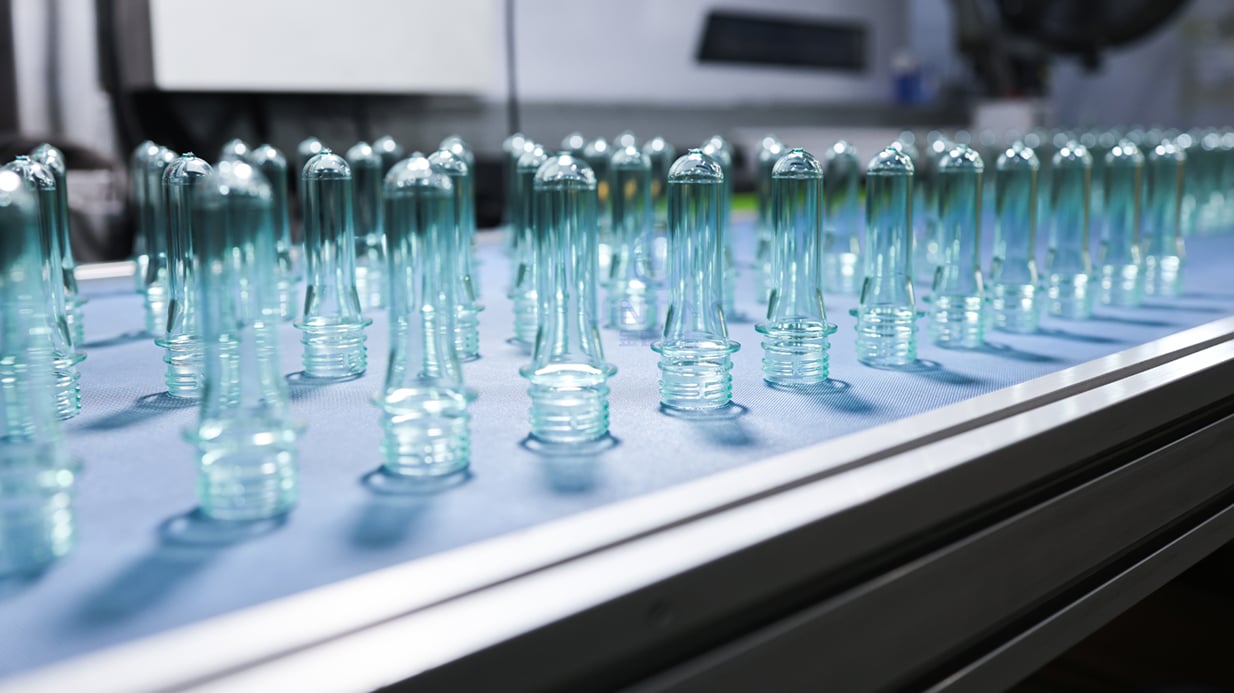
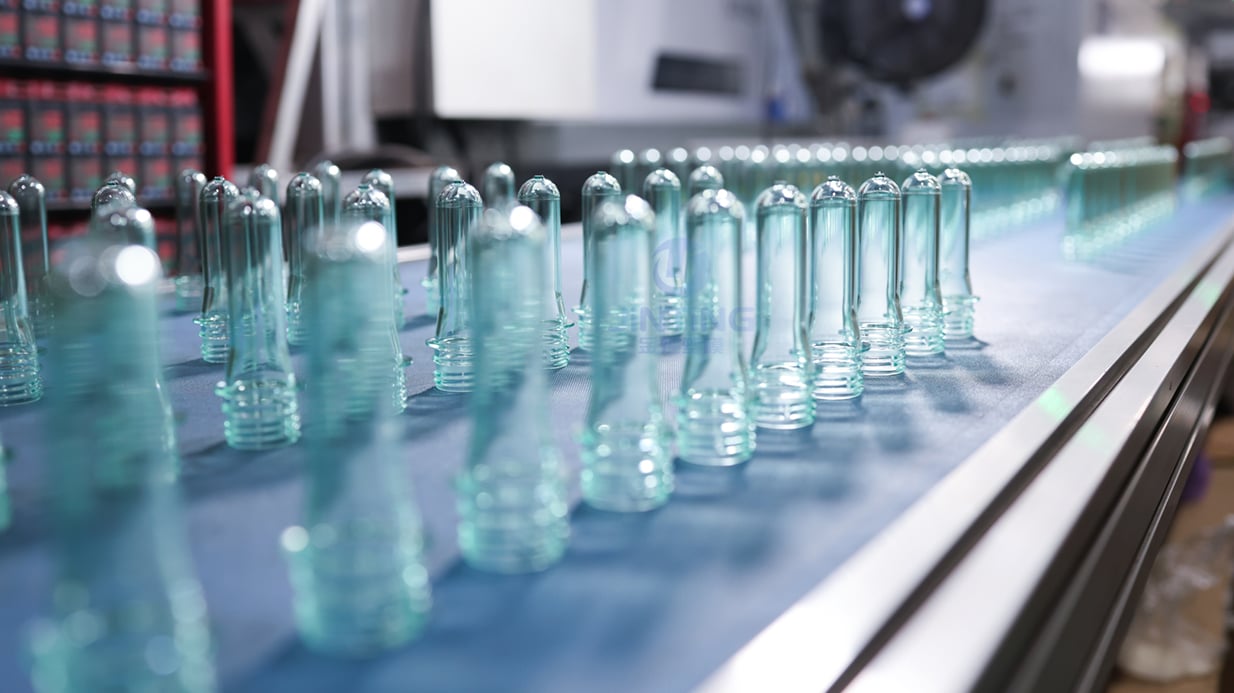
Temperature is not an isolated variable. During blow molding, temperature closely interacts with the following parameters:
Pre-blow position, pressure, and flow must all match the temperature:
Pre-blow too early: off-center base, thinning, foot whitening
Pre-blow too late: top too light, bottom too heavy, center point too thick
When temperature is low: higher pre-blow pressure is needed to expand the preform
When temperature is high: reduce pre-blow pressure, otherwise the bottle may become locally too thin
Pre-blow pressure should generally be 0.8–1 MPa. If pressure is too high: top heavy, bottom light, off-center, uneven foot wall thickness, whitening; if pressure is too low: insufficient stretching, heavy base, thick center point.
 |
 |
Stretch rod speed must match preform temperature. When temperature is low, reduce stretch speed to prevent cracking; when temperature is high, speed may be increased appropriately. The clearance between stretch rod and base mold is typically 1/3 to 1/2 of preform wall thickness – this clearance also needs fine-tuning based on temperature.
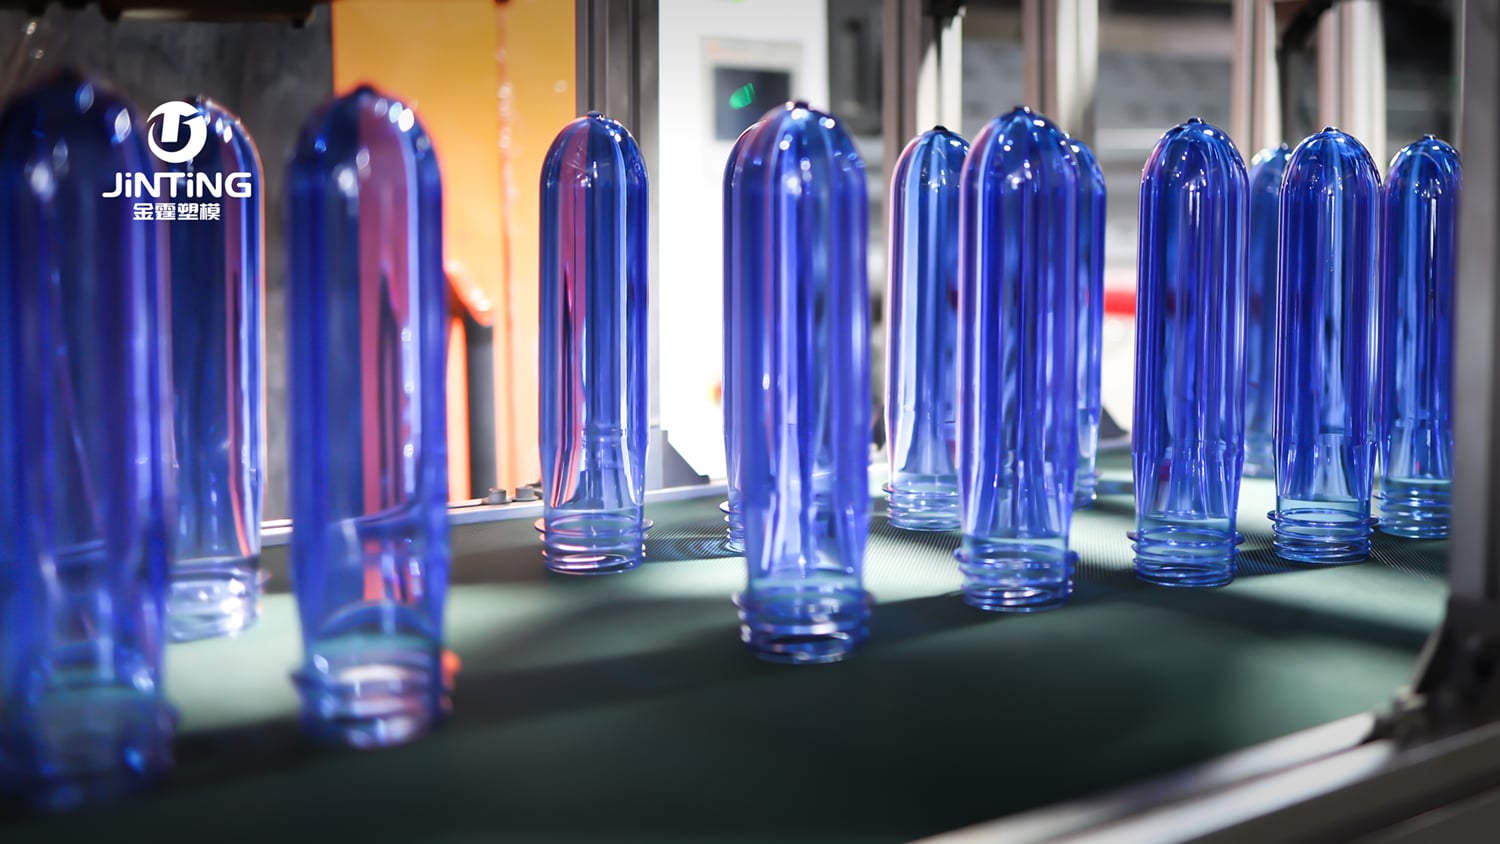
Cooling after blowing is equally critical. Rapid cooling “freezes” molecular orientation, ensuring bottle transparency. But if cooling is insufficient, the bottle will be completely hazy (opaque). Cooling water temperature control is also crucial – body temperature is typically controlled at 20–45°C, while the base requires lower temperatures of 5–8°C.
| Defect | Possible cause | Solution |
|---|---|---|
| Bottle fails to expand | Insufficient preform conditioning | Increase heating temp or slow preform speed |
| Body whitening/haze | Heating temperature too high | Reduce heating temp, shorten heating time |
| Base whitening | Preform too cold | Increase preform temperature |
| Base “navel” | Base temperature too high | Reduce heating intensity in base zone |
| Base micro-cracks/breakage | Base temperature too low | Adjust preform end temperature |
| Localized whitening | Temperature too low at that point | Increase heating power in that zone |
| Neck thread deformation | Temp too high, preform too soft | Reduce heating temp, strengthen neck cooling |
| Poor transparency | Heating temp too high or time too long | Reduce temp, shorten heating time |
| Entire bottle hazy | Insufficient cooling | Strengthen cooling |
| Shoulder collapse | Localized overheating | Adjust lamp power and position |
| Uneven wall thickness | Uneven heating | Check lamp condition and heat distribution |
PET’s processing temperature window is only 30°C (90–120°C). Within this narrow range, a deviation of 5–10°C can already produce defects. Every single degree matters.
Inner-outer temperature difference, axial temperature difference, circumferential temperature difference – any unevenness causes uneven wall thickness, stress concentration, and reduced transparency. Far-infrared heating, preform rotation, and multi-zone temperature control all serve one goal: uniformity.
Temperature must be fully matched with bottle type, raw material, color, ambient temperature, pre-blow parameters, stretch speed, and cooling conditions. There is no universal “best temperature” – only the “optimal temperature” for specific products and equipment.
The impact of ambient temperature on the blow molding process cannot be ignored. In summer, guard against high temperature and high humidity; in winter, guard against low temperature and embrittlement. Consistent environmental conditions are the foundation of stable processes and stable products. Companies with the means should maintain workshop temperature at approximately 22°C and humidity at 40–50% RH.

Next time you debug a blow molding machine, remember: those few degrees flickering on the temperature display determine whether your bottles will be crystal-clear or a pile of scrap. Summer and winter, the same settings can yield completely different results – learn to “adapt to the seasons” to maintain stable production year-round. In PET preform blow molding, temperature is where success or failure begins and ends.
 Hot News
2026-09-13
2026-06-04
2026-05-05
2026-01-20
2025-11-12
2025-11-11

Taizhou Huangyan Jinting Plastic Mould.,LTD is a professional PET preform manufacturer with 25+ years’ expertise. ISO9001/ISO22000 certified, custom necks (28–55mm), colors, weights & molds for water/beverage brands. Contact us today.
Puhui Industrial Zone, Toutuo Town, Huangyan District, Taizhou City, Zhejiang Province, China
Copyright © 2026 Taizhou Huangyan Jinting Plastic Mould.,LTD.All rights reserved. Privacy Policy